Envira Gallery Blog
Digital Photography Tips, Tutorials and Resources
Digital Photography Tips, Tutorials and Resources

Last updated on Oct 23, 2018 by Waseem Abbas
Do you want to learn more about photography lighting? Knowing how to use your camera is not enough if you don’t understand these photography lighting tips. Light is the life of your portrait.
If your photos look dull, then most likely the issue is your lighting. Understanding how to use light to your advantage is crucial, especially if you’re interested in starting a photography business.
In this article, we will share the best tips for photography lighting. We’re going to cover these essential topics!
First thing you need to do is familiarize yourself with the features of your camera. Most DSLRs have many options to help you in low light situations, if you are familiar with those.
However, you cannot leave everything to the camera. If you want to take great photos, you need to make sure you have great lighting because it can make a huge difference.

In low light, your camera shutter speed plays an important role. You need to adjust it according to the light availability. Your camera shutter should be slow to make your portrait similar to a sketch by a painter.
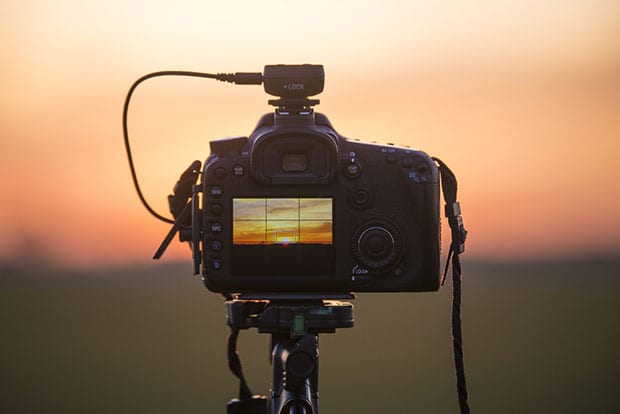
Use a tripod to avoid shaky pictures. When the shutter speed is slow, you have to be careful that the subject doesn’t move from their position. When your subject and camera are steady, the results will be miraculous.

Check the location of shoot before initiating the session with your customer. Is your model comfortable to shoot in the busy roads of a city, or do you plan to shoot a wedding indoors?
You have to monitor the weather situation in outdoor shoots. In cloudy weather or in the afternoons, when the light is dim or the conditions are harsh, you must be smart about lighting.
You can leverage hard light using light tents or fabric papers.
Let the natural light help you in your photography. For indoor shoots, smaller rooms have dim lighting. These rooms are perfect to add shadow to the photos. You should use the windows as a softbox to capture the best portraits. If your selected room is large, then you will need more light.
You should also use the patterns of indoor structures for taking portraits in natural light.

You should check the location of the light before you take any photos. It is essential for good photos. Find out the path of the light.
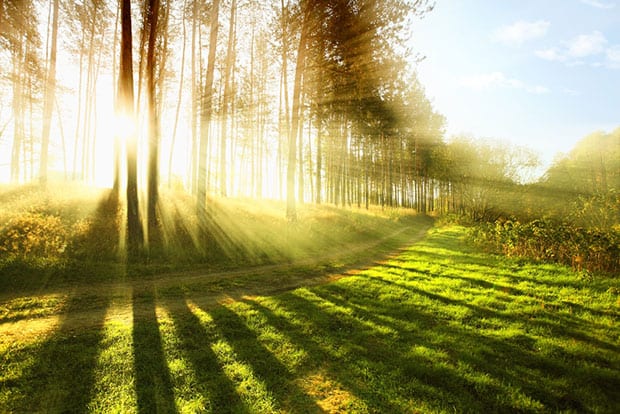
Light travels in a straight line, so you have to make it available over your subject and targeted body. If the shoot is outdoors, then you should choose a time when the light is brightest, and you can adjust it according to your requirement.
In case of outdoor shoots, the best timing is morning or midday.
For indoor shoots, you need to find windows on the east side if it’s early morning and west side if the shoot is at mid-afternoon. When you know the correct light path, you can easily adjust accordingly.

Sunlight is a natural lighting resource for photography. However, the light changes its formations during the day from morning to evening.
In the same portrait taken at different times, you can see a major difference. As a photographer, you can take advantage of sunlight and choose the best time of day for your portraits.
Sometimes the clouds stop the direct path of the sun to your model, and the shadow developed for the scene is perfect for the shoot.
You should observe the reflection of light on different natural objects in your vicinity. How sunlight brightens the rocks, water, smoke, etc. Everything has a different appearance and can be used in your portraits as backdrops.

When you are using artificial lighting for photography, you must be shooting at night or in closed dark room. You should learn these indoor photography lighting tips.
First always make sure to use light stands and flashguns to balance the lighting on the subject. Read our guide on how much it costs to start a photography business to learn the pricing of light stands and flashguns.
With artificial light, you do not have to worry about dim lighting. It doesn’t change with time. You can add more lights to get the results of bright natural lighting.

Shadow plays an important role in creating drama in your portraits. Whether you shoot in sunlight or artificial light, you can use shadows to maximize the results of your photography.
Silhouettes are known to be the supreme art of photography. If you create a silhouette of your model by using proper lighting, it can turn out really beautiful.
Post-processing is a smart trick to add extra lighting to your photography. Dimmer pictures look great in black and white. Your sharp pictures can be checked for white balance too. In the end, it’s the final product you present that says the most about your work.
We hope this article helped you with the best tips for photography lighting, and you can improve your skills to handle all situations. You may also want to check out our blog post on 117 free lightroom presets that you will fall in love with or these 34 Photoshop Actions for Landscape Photography.
Follow us on Facebook and Twitter for more free tips about photography.
Envira Gallery helps photographers create beautiful photo and video galleries in just a few clicks so that they can showcase and sell their work.

I agree that shadow definitely can create drama in your portraits. It’s important to find a model who knows that and understands how to use shadows to their benefit. I think it would be so fun and interesting to be a photographer.
Nice article, I’m a fan of natural light. Interesting though, in example 5 I actually preferred the shot which was underexposed, has more ‘depth’ to it (in my humble opinion)? You can go too far to remove tonal contrsts, that’s why I’m not a fand of HDR techniques.