Envira Gallery Blog
Digital Photography Tips, Tutorials and Resources
Digital Photography Tips, Tutorials and Resources

Last updated on Dec 21, 2018 by Waseem Abbas
Are you thinking of adding a lomo effect to your image? Some intense and high-contrast images look stunning with the lomography photo effect. In this article, we will share how to create a lomo effect in Photoshop.
If you don’t have it yet, you can get Photoshop from Adobe’s site here.
First thing you need to do is open your image in Photoshop.
Now go to the Adjustment Layer icon (half-filled circle) at the bottom right corner of your Photoshop screen, and select Gradient Map.
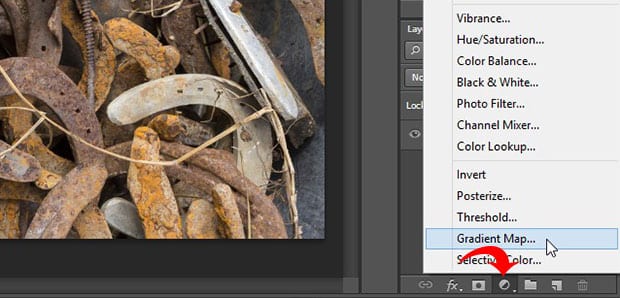
You should select a Blue color on the left and a Green color on the right inside the Gradient Editor, as shown below:
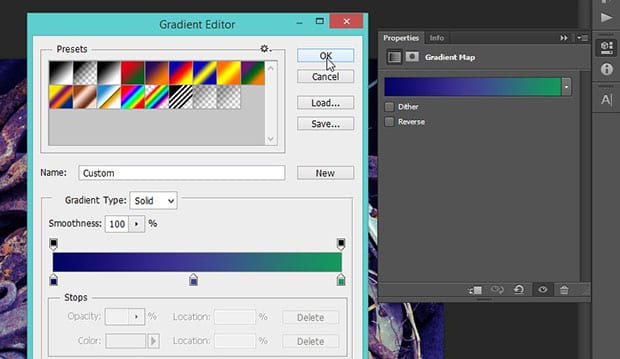
To make the colors blend beautifully with your photo, simply change the blend mode of the adjustment layer to Overlay (it’s set to Normal by default).

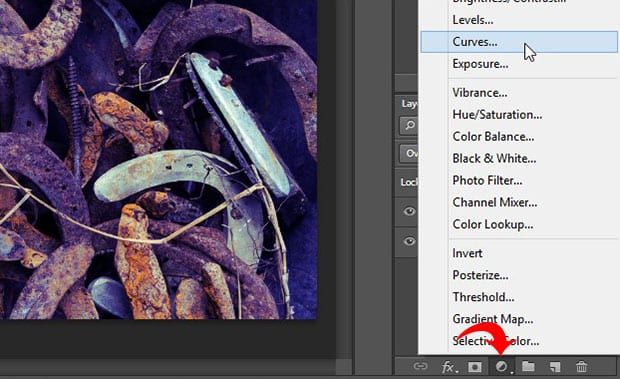
Next, go ahead and add another Adjustment Layer, this time for the Curves.
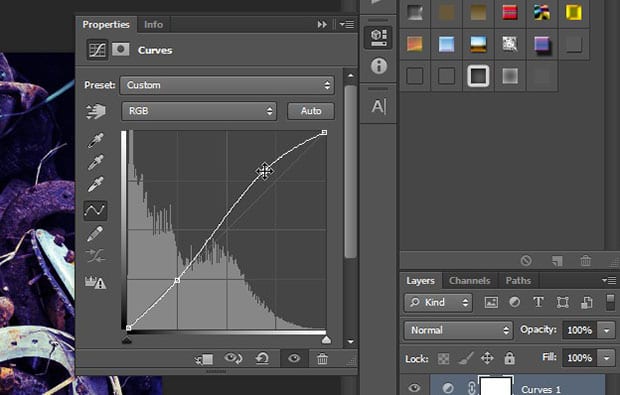
In the Curves settings, you’ll need to lift up the curve to brighten the dark notes of photo, as shown in the image below:
After setting the Curves, add a new layer (go to Layer » New » Layer…), and fill it with a black color using the Paint Bucket Tool.
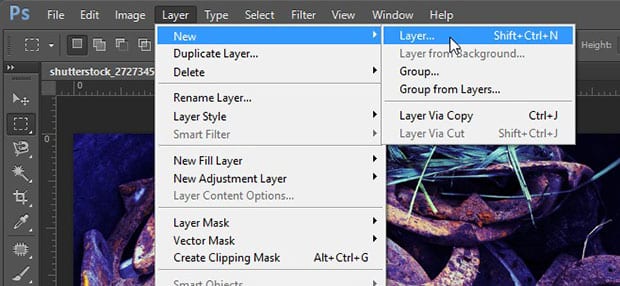
Then, draw a selection using the Elliptical Marque Tool so it touches the edges of the image, as shown below:
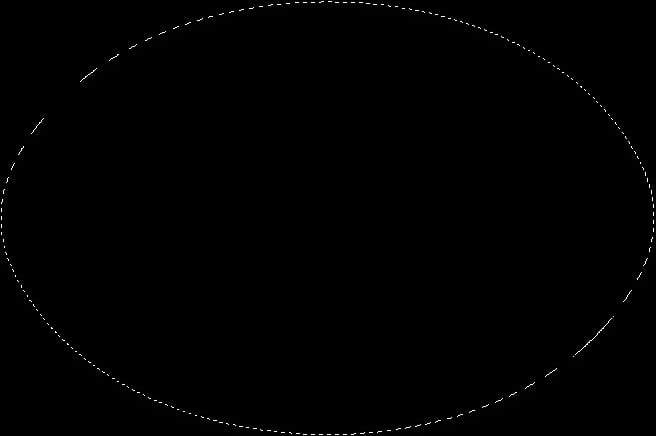
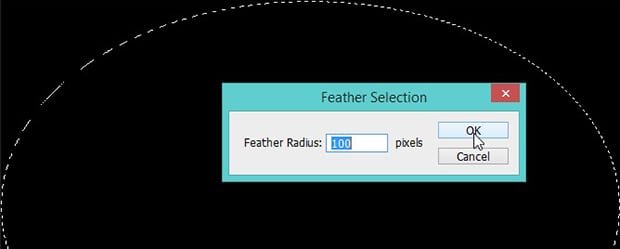
Now go to Select » Modify » Feather… and set Feather Radius to 100.
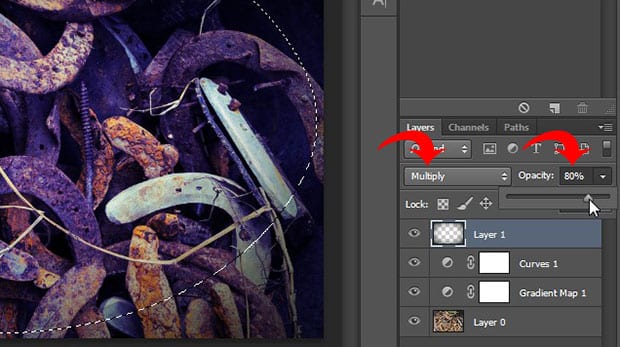
After that, simply press the Delete button from your keyboard and change the blend mode to Multiply. Also, you should reduce the Opacity to 80%.
Next, press Ctrl + A to select all. Then, press Shift + Ctrl + C to copy the merged layers.
Now create a new layer from Layer » New » Layer…, and simply press Ctrl + V to paste the merged layers.
In the next step, go to Filter » Blur » Gaussian Blur… and set the Radius to 3.0.
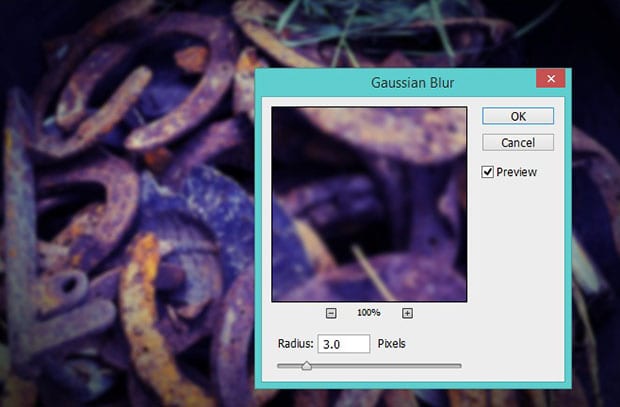
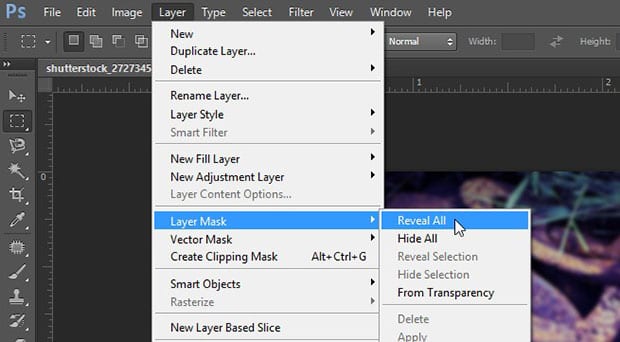
We don’t need to blur the entire photo, just the edges. To fix this, go to Layer » Layer Mask » Reveal All.
Then create a selection in the middle using the Elliptical Marque Tool.
Set Feather Radius to 100, and fill the selection with the black color using the Paint Bucket Tool. This will remove the blur from the middle.
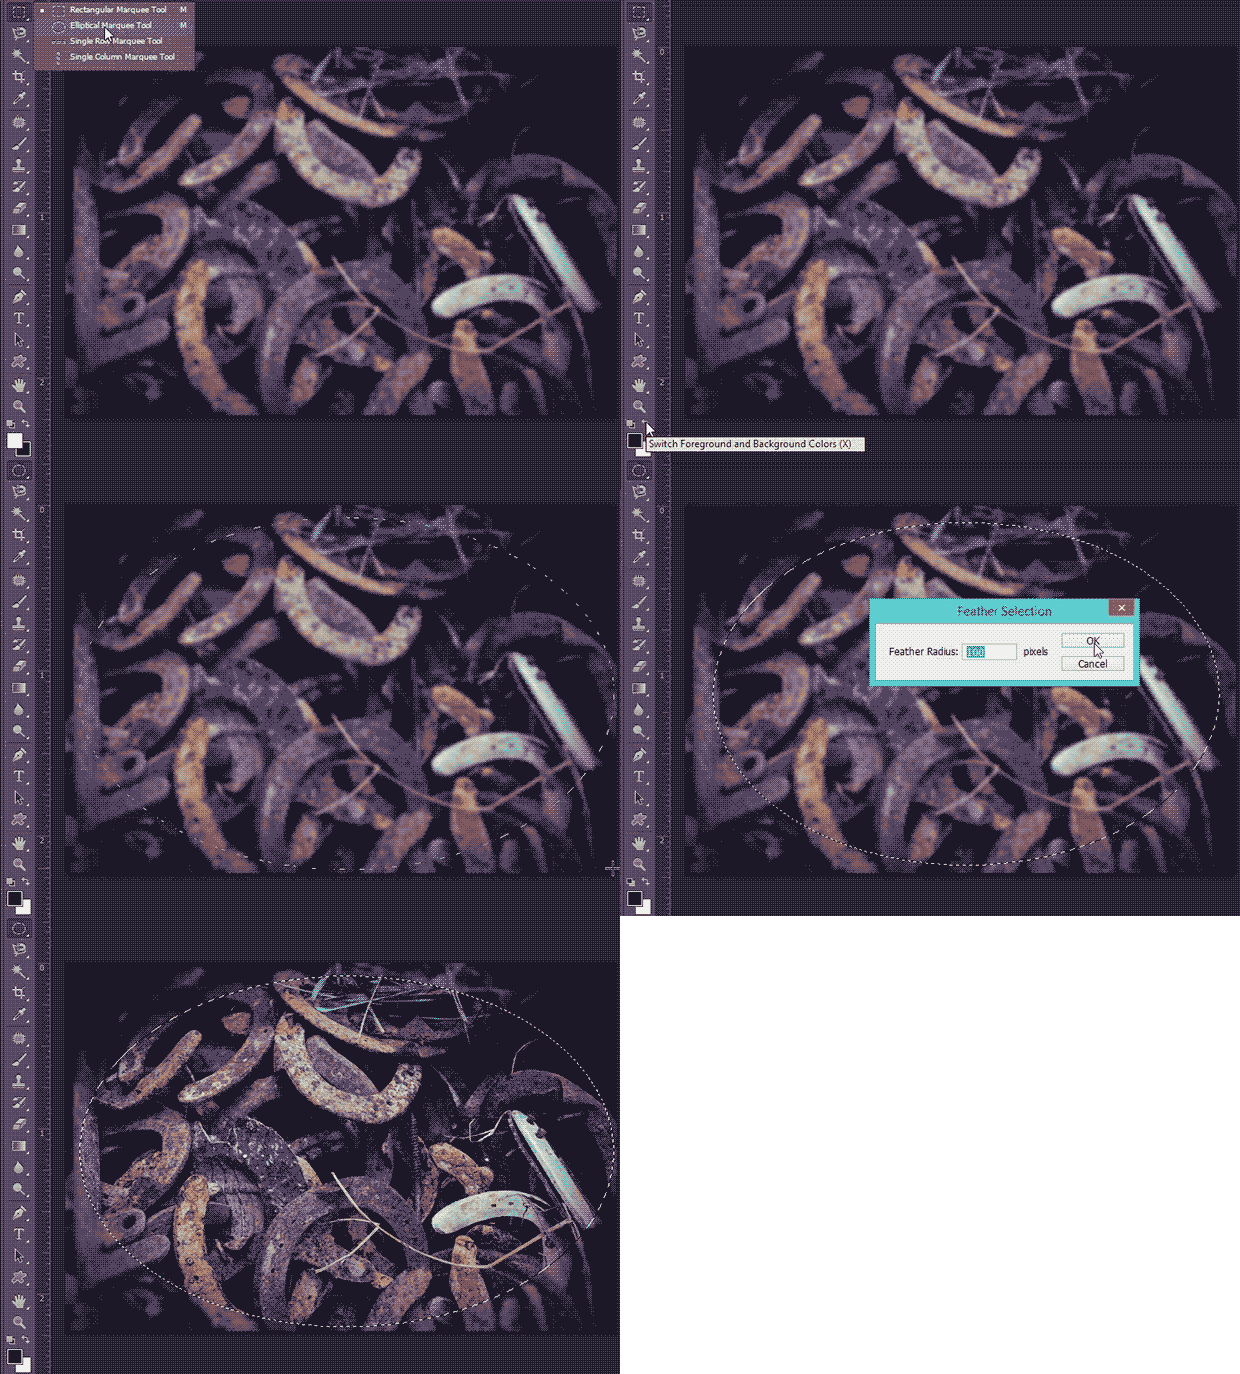
That’s all. See this before and after image below.

We hope this article has helped you to learn how to create a lomo effect in Photoshop. You may also want to check out our guide on how to add a cinematic effect to your images in Photoshop.
If you like this article, then please follow us on Facebook and Twitter for more free photo editing tutorials.
Envira Gallery helps photographers create beautiful photo and video galleries in just a few clicks so that they can showcase and sell their work.
