Do you want to make eyes pop in your portrait? Your photos can look striking when you enhance the eyes in post-shoot editing. In this article, we will show you how to make eyes pop using Photoshop.
If you don’t have it yet, you can get Photoshop from Adobe’s site here.
Make Eyes Pop in Photoshop
First thing you need to do is open your image in Photoshop.
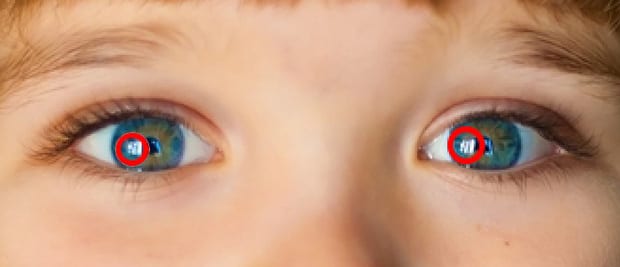
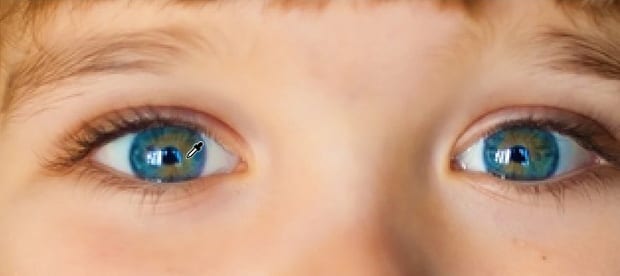
Zoom in on your photo and locate the spot of light in the eye to identify the direction of the light source. (In our particular image, the light spot is on the left-hand side of the eyes.) Keep this in mind for later.
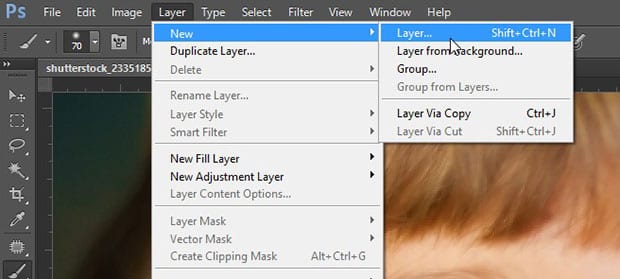
Lets start by adding a new layer. Go to Layer » New » Layer to add a transparent layer (named Layer 1).
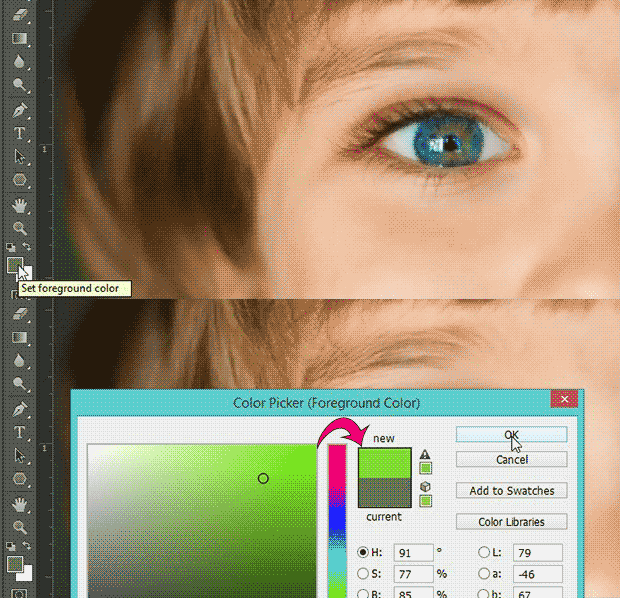
Now select the Brush Tool and press Alt + Click on the first green/brown object in the eye to set this as the foreground color.
Click on the foreground color and move the color up a bit to produce a lighter, more saturated shade.
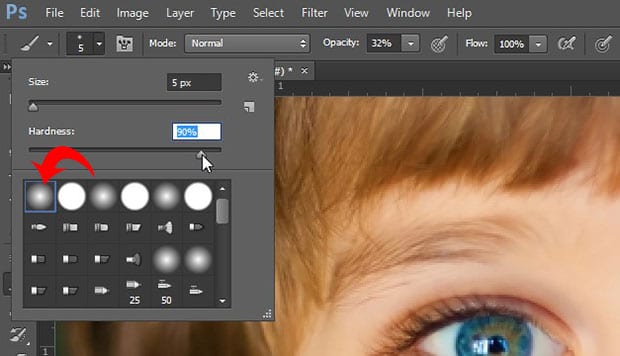
Next you can go ahead to select the soft-edge brush, and set the Hardness to 90%.
Then, brush the color on the eye in the same area where you picked up the color (repeat this on the other eye).
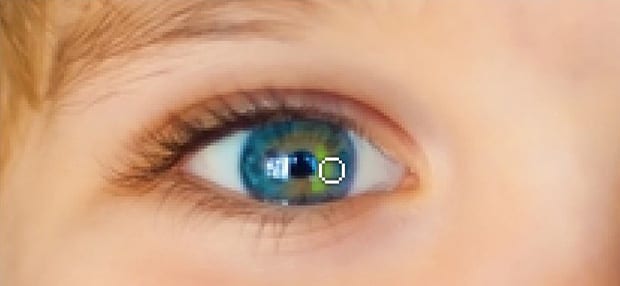
After brushing the color on, you’ll need to add another layer from Layer » New » Layer (named Layer 2).
With the Brush Tool selected, press Alt + Click on the second blueish color in the eye.
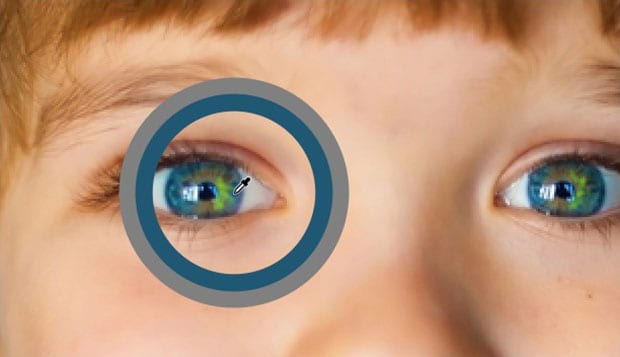
Just like you did before, click on the foreground color and move it up a bit to a lighter shade.
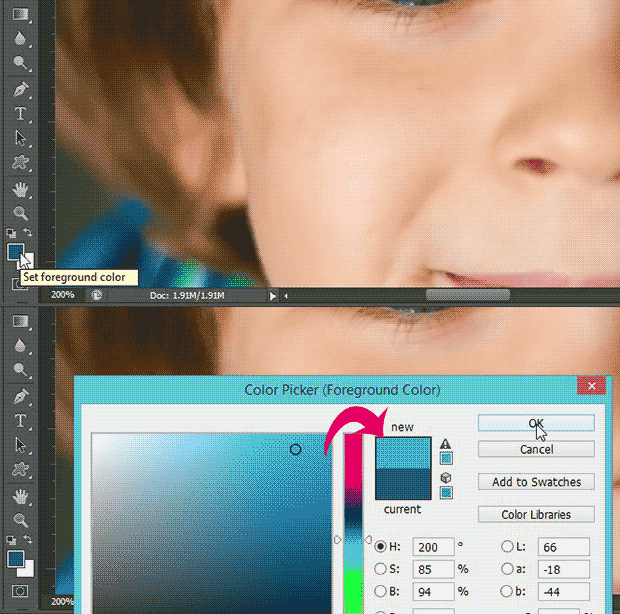
Once your foreground color is set, brush the eye in the same area where you picked up the blue color (repeat on the other eye).
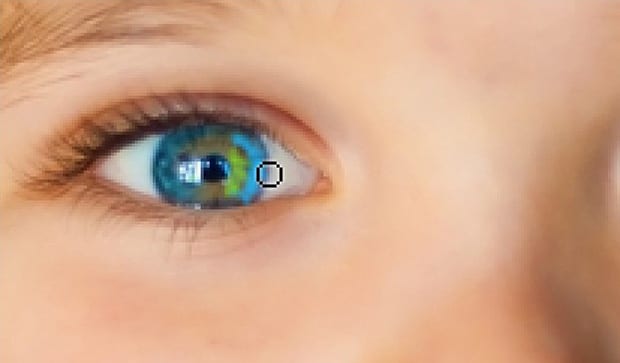
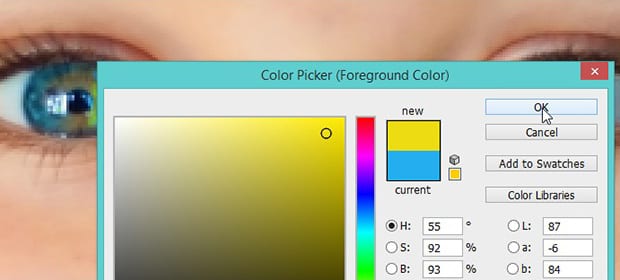
Next, we’ll add one more color to make the eye pop even more. Add another layer from Layer » New » Layer (named Layer 3), and this time set the foreground color to yellow.
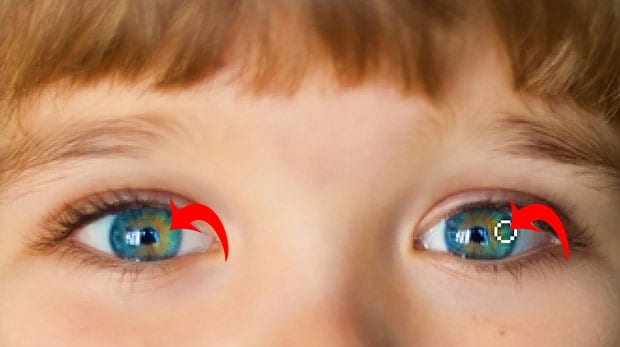
Brush a bit of the yellow color on the opposite side from where the light bounces in the eye.
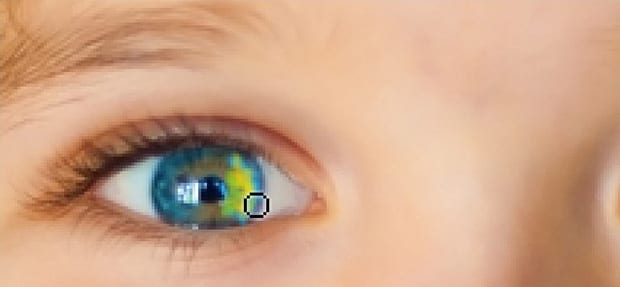
After adding the colors, select all three layers (Layer 1, Layer 2, and Layer 3), and change the blending mode for the layers to Overlay (it is set to Normal by default).
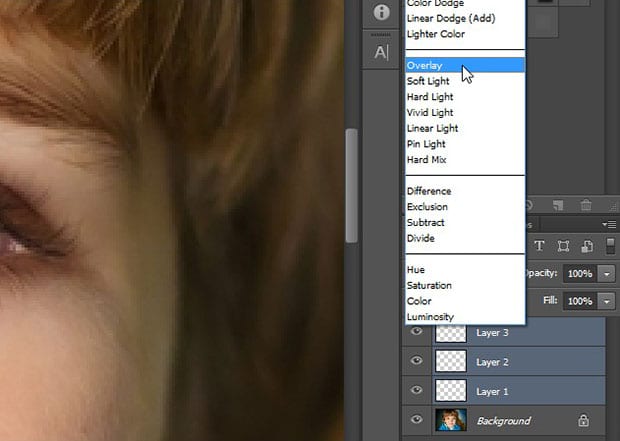
Now you need to select Layer 1 from the Layers panel in Photoshop.
Then go to Filter » Blur » Gaussian Blur from the top menu bar.
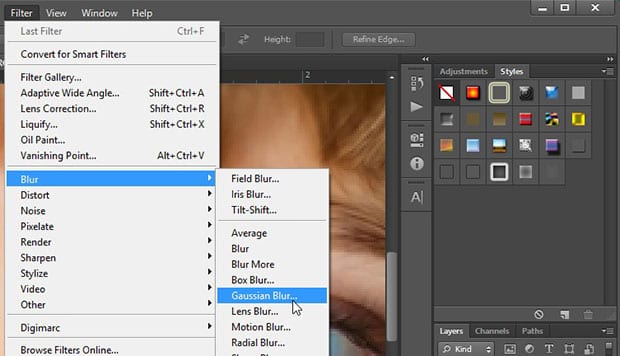
Set the Radius to 1.0 pixels in the Gaussian Blur box. Repeat this process for Layer 2.
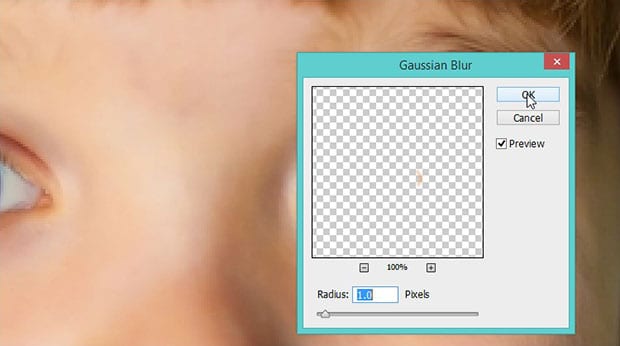
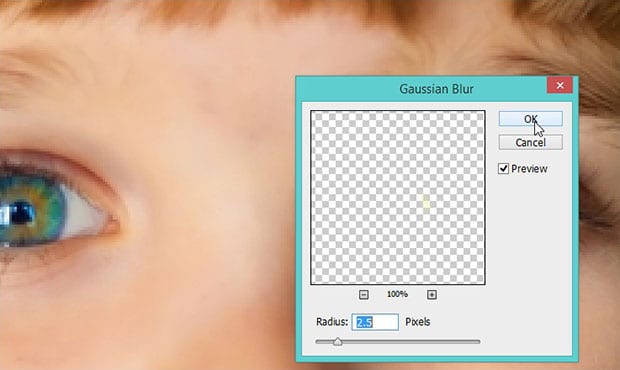
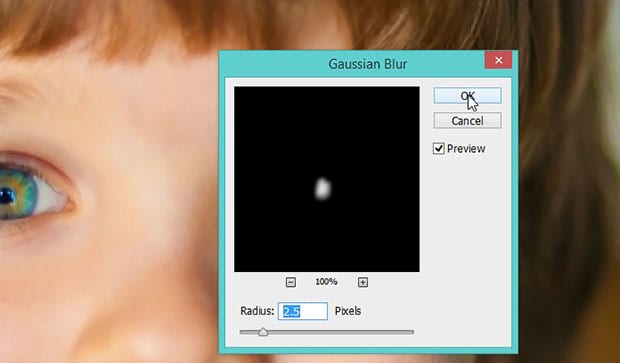
After you’ve blurred Layer 1 and Layer 2, select Layer 3 and go to Filter » Blur » Gaussian Blur.
This time, set the Radius to 2.5 to really blend out the yellow color.
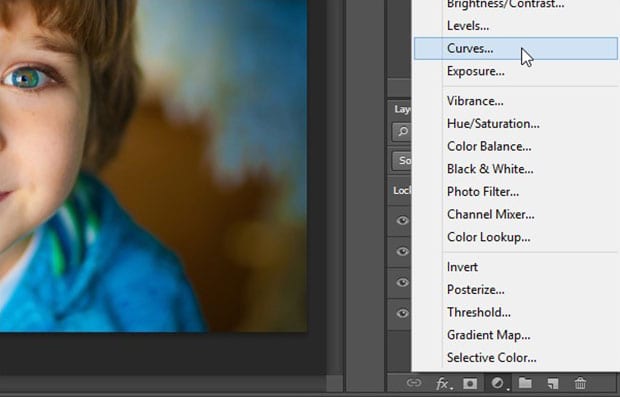
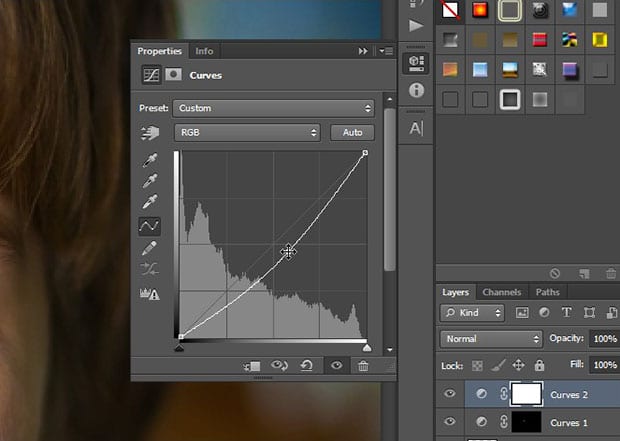
Next, add a Curves Adjustment Layer from the bottom right corner of the Photoshop screen (click on the half filled circle and select “Curves”).
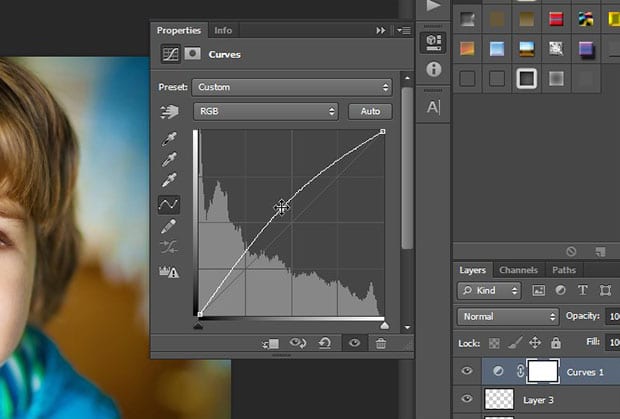
Simply lift up the curve as shown in the image below, so it adds some brightness to your image:
Now press Ctrl + I to inverse the color of the Curve adjustment layer. Set the foreground color to white, and brush over the eyes where you added the colors earlier.
Goo to Filter » Blur » Gaussian Blur, and set the Radius to 2.5 pixels.
Like in the previous step, add another Curves Adjustment Layer, and lower down the curve as shown in the image below to add some darkness:
Press Ctrl + I to inverse the color of the adjustment layer. Brush the eye again on the same area where you used the colors in the previous steps. Make sure to set the foreground color to white.
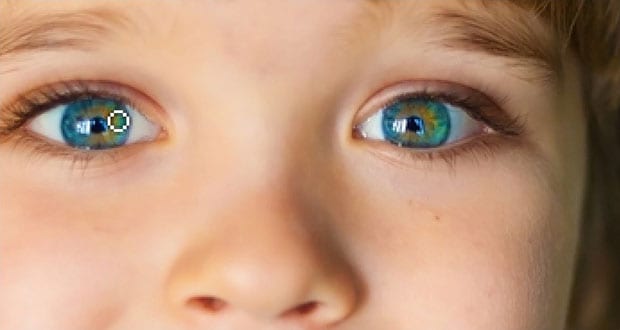
Now go ahead to add a new layer (Layer 4), and press Ctrl + Alt + Shift + E to make a copy of the original layer in this new layer.
Now press Ctrl + Shift + U to desaturate the layer, and change the blending mode to Overlay.
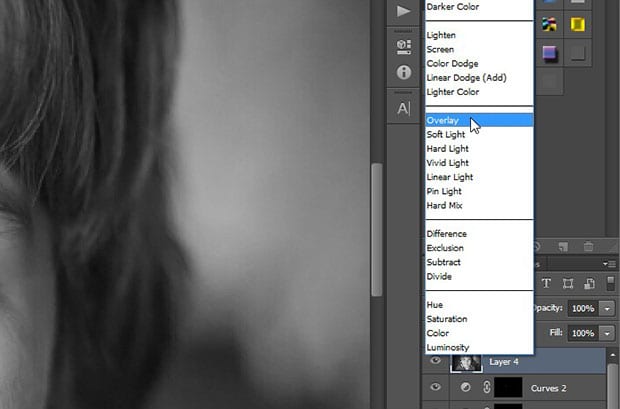
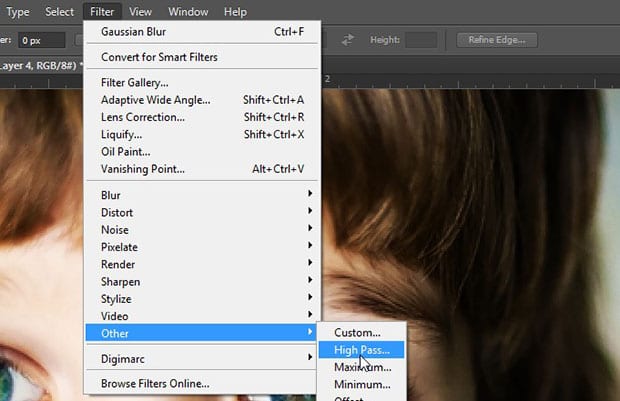
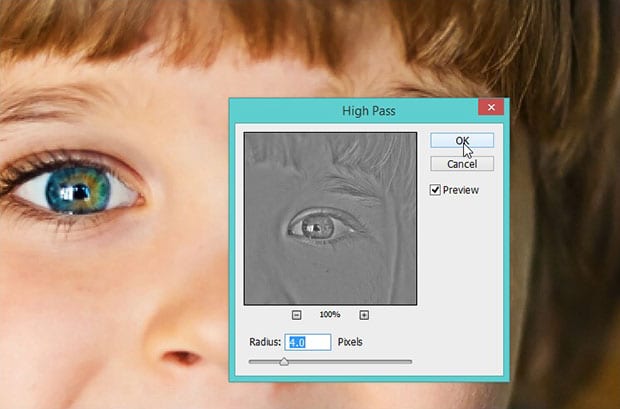
Lastly, go to Filter » Other » High Pass to add some sharpness to the eyes.
Set the Radius to 4.0 pixels.
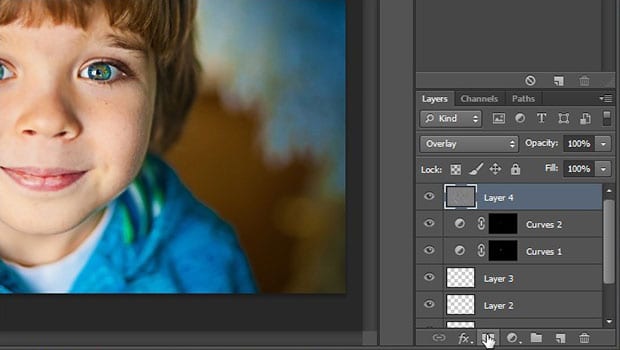
Now add Layer Mask from the bottom right corner of the screen (click on the box shaped icon with blank circle in the middle).
Press Ctrl + I to inverse the color of layer mask. Then select the Brush Tool and set the foreground color to white.
Brush the eyes so they really pop out in the portrait. You may also want to brush a little on the lips, eyebrows, cheeks and nose.
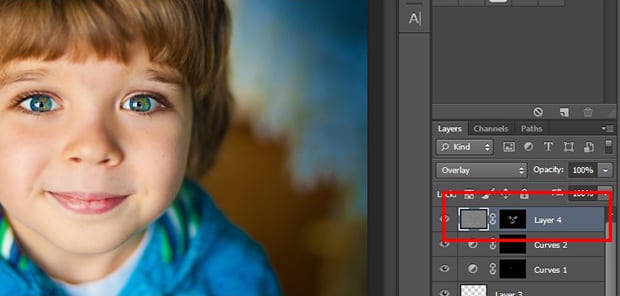
That’s it! You can see the before and after image below.
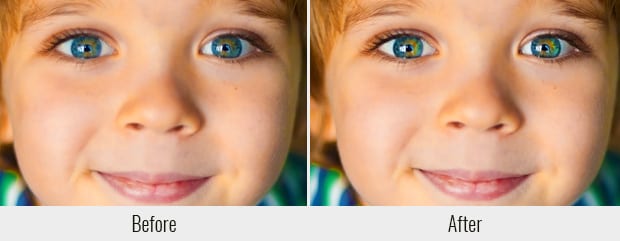
We hope this article has helped you to learn how to make eyes pop using Photoshop. You may also want to check out our guide on how to sharpen your images using Photoshop.
If you like this article, then please follow us on Facebook and Twitter for more free photo editing tutorials.


