Do you want to allow visitors to filter the images in your galleries? With the Tags Addon for Envira Gallery, users can do just that! This doc will show you how to display a list of tags above your Envira Gallery using the Tags Addon, which visitors can select to filter the gallery view.
Before you can use the Tags Addon, you’ll have to install and activate the addon. Please follow our instructions on how to install and activate addons for a detailed walkthrough of the installation process.
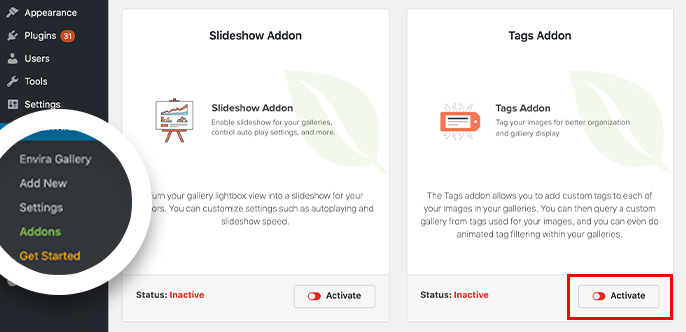
Remember, in this instance, you’ll need to activate the Envira Tags Addon.
The Tags Addon won’t work without an image gallery. So, the first step to creating tags with the Tags Addon is to create a Envira gallery or click to edit an existing gallery. You can follow along with our documentation for creating your first gallery if you’re new to the plugin.
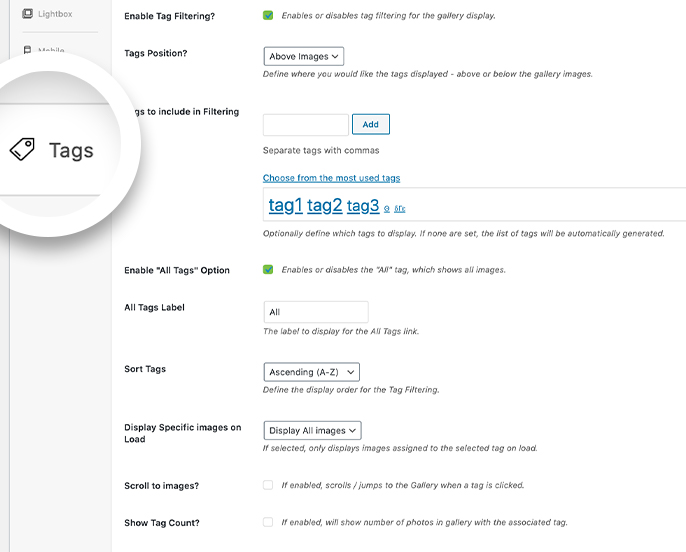
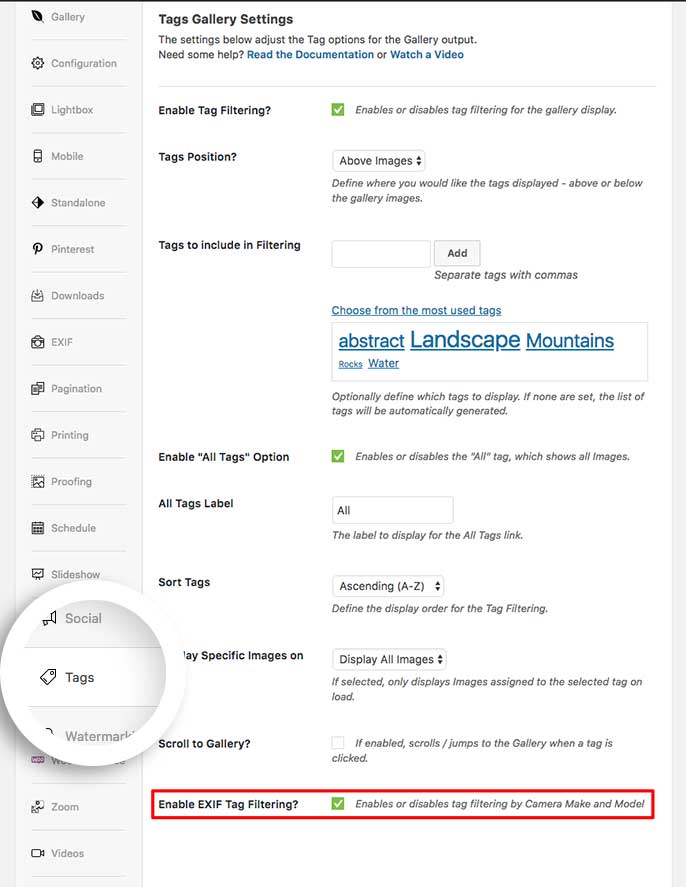
Inside the gallery creation or edit page, navigate to the Tags tab near the bottom of the screen. Click the Enable Tag Filtering? option to turn on gallery tags.
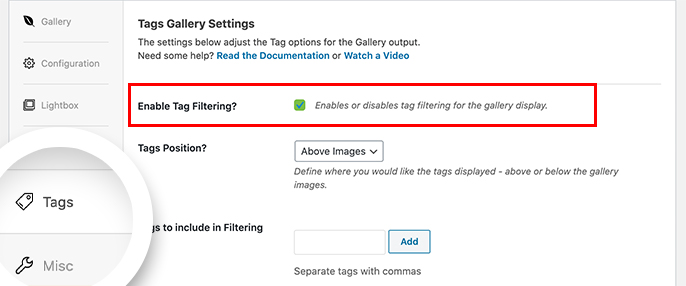
Enabling tags will reveal additional configuration options, including the position of the tags in relation to your gallery images, the tags you want to include in filtering, tag scrolling, and more.
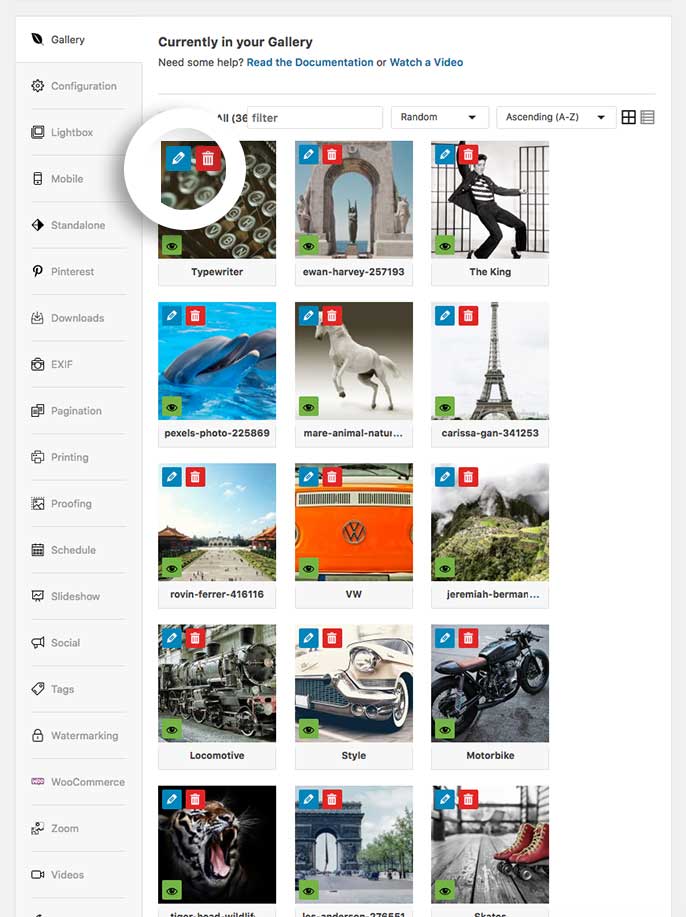
Now that you’ve enabled tags, you need to edit our gallery images in order to assign them to the tags you specified. To do this, click the blue pencil icon on the images in your gallery to open the Edit Metadata window.
Here you’ll add your tag(s) to each gallery image. You can add multiple tags to one image by separating each tag with a comma.
Once you’ve added all the tags for your image, click the Save Metadata button to save the changes. When you’re finished tagging all the images, just click the X icon to close the Edit Metadata window.
Finally, click Publish or Update on your gallery to save the changes.
Alternatively, you can also auto-tag images using the Imagga image tagging service.
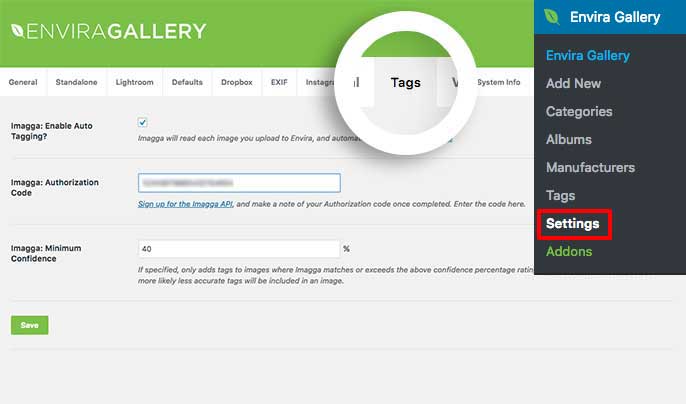
From your WordPress Admin dashboard, navigate to Envira » Settings » Tags tab. Here you’ll see options to enable, connect to your Imagga account, and configure the Imagga: Minimum Confidence percentage.
Check the box for Imagga: Enable Auto Tagging? in this screen to get started.
Next, create a free account at Imagga.
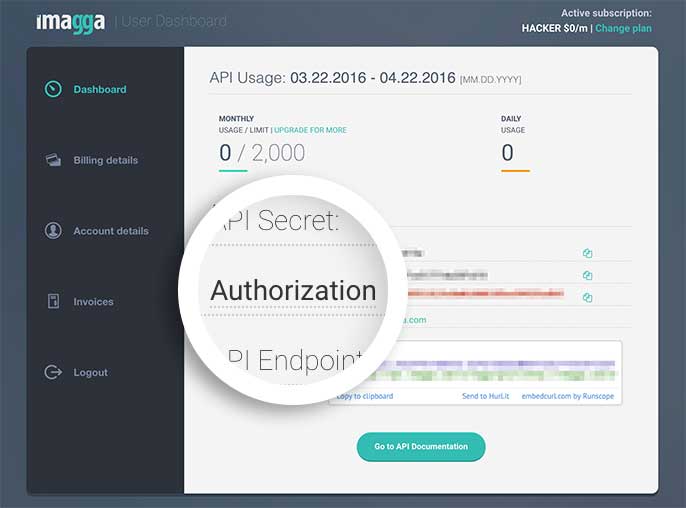
Once you’ve confirmed your account, copy the Authorization Code from your Imagga Dashboard.
Return to the WordPress Admin and paste the code into the Imagga: Authorization Code field in the Tags tab.
You can also specify a Imagga: Minimum Confidence percentage. If specified, only adds tags to images where Imagga matches or exceeds the above confidence percentage rating. A lower confidence means it is more likely less accurate tags will be paired with an image. The default value is 40%, but you can raise or lower this based on your specific needs.
Then, just click the Save button to save the changes and begin auto-tagging images.
Imagga auto-tagging is not applied to images already present in your galleries. You’ll need to manually add tags to any images already in your Enivra gallery.
That’s it! You’ve successfully configured auto-tagging for your galleries!
See the demo!
Using the Albums Addon you can also use Envira Tags Addon for albums too! Check out our tutorial on How to Create a Filterable Album.
A: Absolutely! Just follow along with our tutorial here on How to Bulk Edit Gallery Images to bulk edit your gallery images and add your tags.
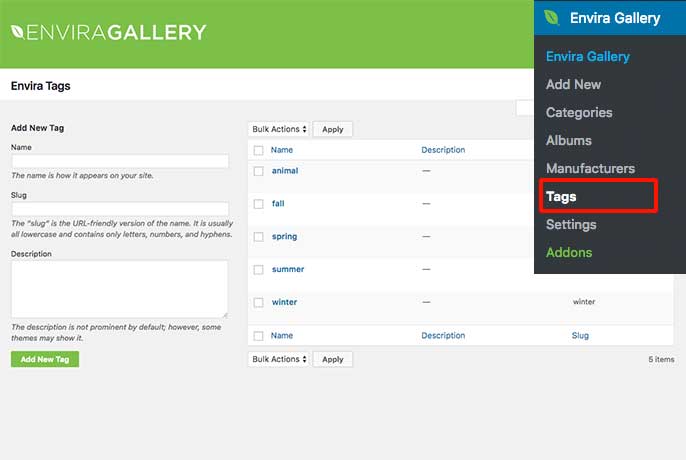
A: You can navigate to the Envira Gallery » Tags screen to manage your tags.
A: Yes! We have an article on How to Style the Tags List.
A: You can use the Dynamic Addon to display a tag-based dynamic gallery. Read our documentation and tutorials to learn more.
A: Yes! Follow our documentation to learn how to filter by Envira Tags in the WordPress.
A: In order to see a smooth transition when filtering by tags, you must be using the Mason layout setting from the Configuration tab of the gallery.
A: The tags you’ve included in the section for Tags to include for Filtering will be the only tags populating the list.
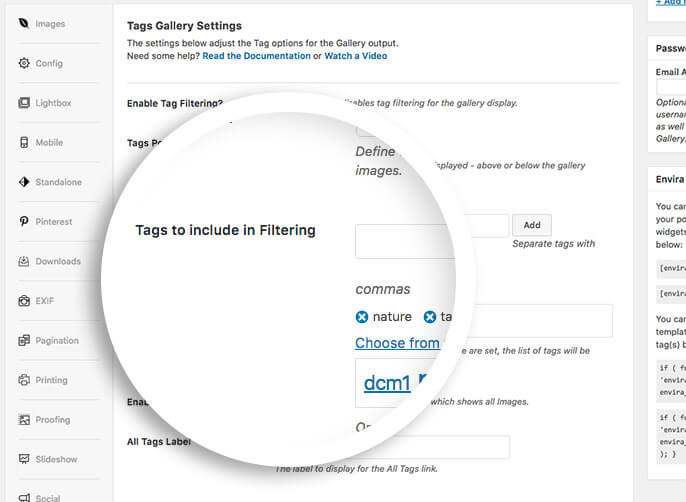
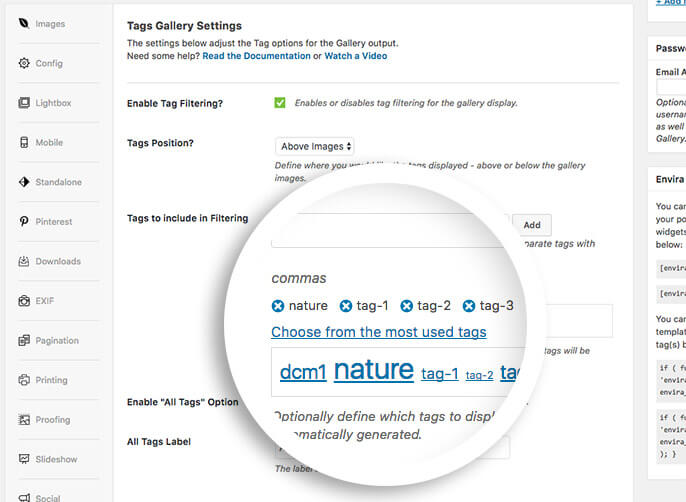
A: Please check how you’ve included your tags. If you are using the Tags to include in Filtering option, your tags will appear in this order:
A: Please check to make sure your Envira Tags and your Envira Categories are not using the same name.
All gallery titles, album titles, Envira Tags and Envira Categories should have unique names. If you notice any issues, please edit the names and their slugs or permalinks to make them unique, and then go to Settings » Permalinks. Click Save to update WordPress and apply your changes.
A: Absolutely! Just click to Enable EXIF Tag Filtering? on the Tags tab.
A: Yes, the Tags tab is also available when creating or editing an Envira Album.
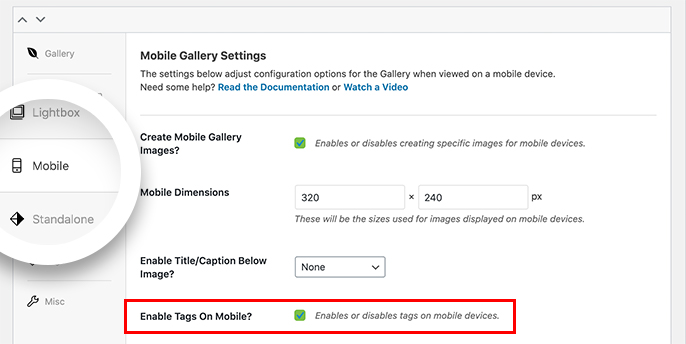
A: Yes, you can toggle tags filtering on and off on mobile from the Mobile tab, as long as the Tags Addon is activated.
