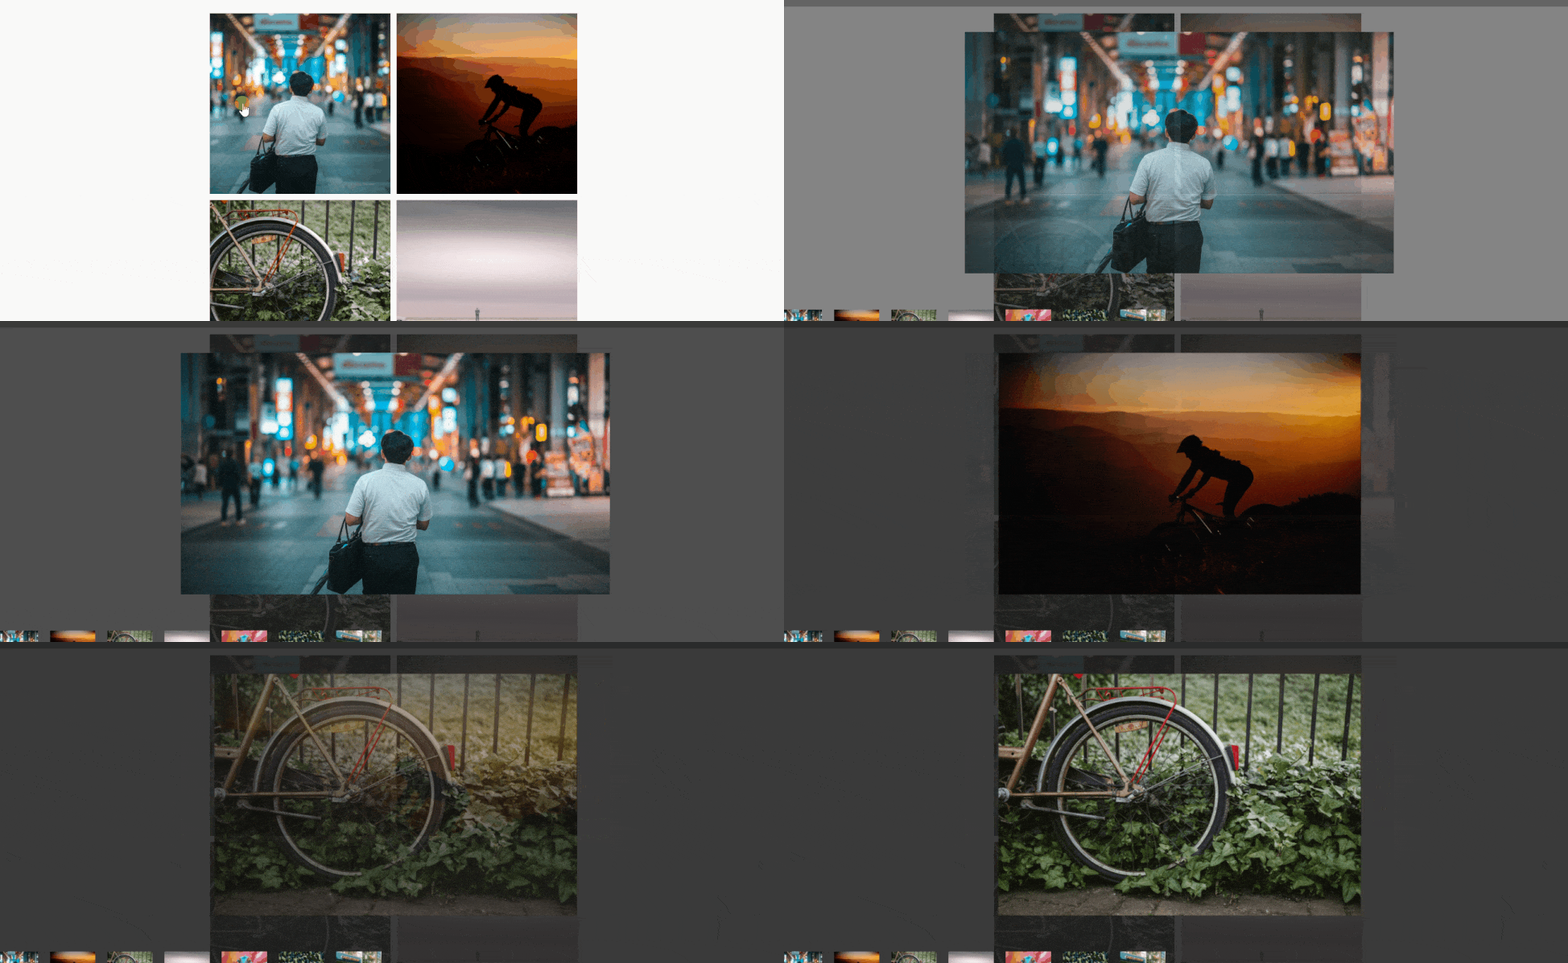
Would you like to speed up or slow down the transition speed for lightbox images? A simple adjustment in the image transition can make a big difference in how your images flow from one to the next.
Although Envira Gallery doesn’t have a specific option to adjust the speed for lightbox images, it can be achieved with a straightforward code snippet.
In this documentation, we’ll walk through the steps to adjust the transition speed for lightbox images using code snippets.
Heads up!
This article contains PHP, CSS, and/or JavaScript to customize our plugin. We offer this code as a courtesy but don’t provide support for additional code customizations or 3rd party development.
Adding the code snippet
Firstly, to change the transition speed for lightbox galleries, you’ll need to add the following code.
If you need help adding custom code to your site, please check out our guide on adding custom PHP or JavaScript to your site.
/* Speed up or slow down the transition speed for lightbox images
*
* @link https://enviragallery.com/docs/changing-the-transition-speed-for-lightbox-images/
*/
add_filter( 'envira_gallery_get_config', 'my_envira_gallery_get_config', 10, 2 );
function my_envira_gallery_get_config( $data_config, $key ) {
$data_config['transition_duration'] = 5000;
$data_config['animation_duration'] = 5000;
return $data_config;
}
Customizing the snippet
In the above code, you can see duration = 5000;. This means when you open, close or navigate through your lightbox images, it will do this in 5 seconds (5000 milliseconds).
However, you can set the value of the transition you desire or depending upon your site requirement. You’ll just need to replace the value i.e., 5000 with other value.

And that’s it! You are now controlling the transition speed for all lightbox images. Want even more control over how your gallery displays? See our guide on how to limit your gallery to show only a certain number of images.
FAQs
Q: Can I change the speed per gallery?
A: Unfortunately no. Once the plugin is installed and activated, it will be applied to every gallery that has the lightbox enabled.
Q: Can I change the speed for albums?
A: Unfortunately not at this time. This is only for galleries.


