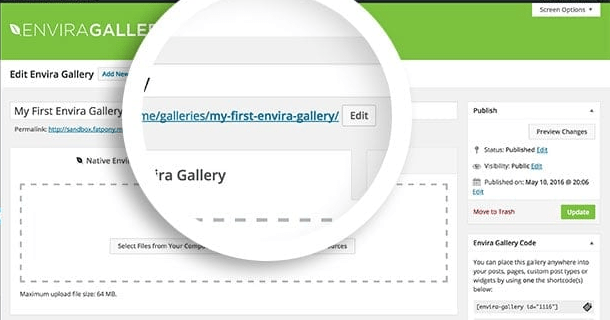
Would you like to provide unique URLs for your galleries and albums using Envira’s Standalone feature? It’s simple and easy to do! This tutorial will walk you through the steps you’ll need to enable the Standalone feature on Envira.
With the release of Envira Gallery v1.5.8 the Standalone feature no longer requires a separate addon.
Requirements
- WordPress 4.9+
- Envira Gallery 1.5.8+
Configuration
Step 1 – Enable the Standalone Feature
Your first step is to enable the Standalone feature.
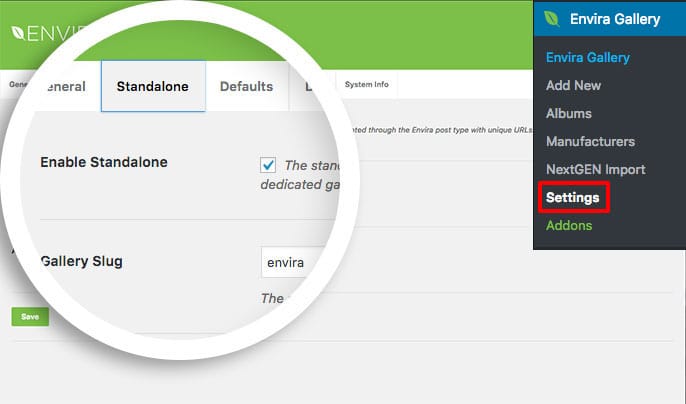
To do this, navigate to the WordPress Admin » Envira » Settings page and selecting the Standalone tab.
On the Standalone tab, check the box to enable the Standalone feature and click Save to save the changes.
The Standalone feature is required when using the
Albums Addon.
Step 2 – Set Your Slug Names (optional)
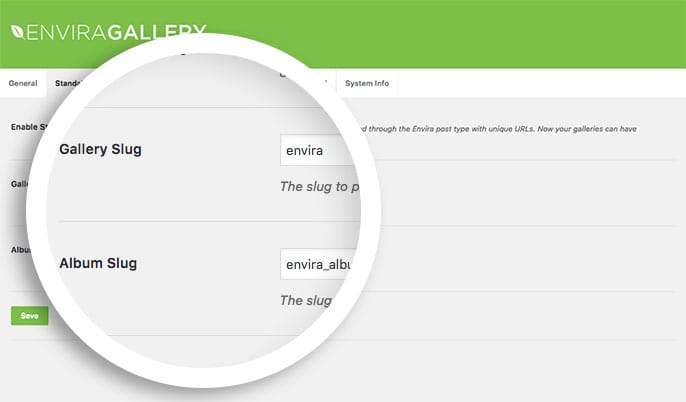
If you’d like to change the default slug names, simply navigate to the WordPress Admin » Envira » Settings page and select the Standalone tab.
Next, enter the slug names you wish to use on the site and click Save to save the changes.
It’s very important that the slug names used are unique and never duplicated.
Step 3 – Assigning a Specific Custom Template (optional)
Your WordPress theme may include custom page templates that you wish to use for your gallery and album standalone pages.
To choose a custom page template click on the Standalone tab from your gallery or album page.
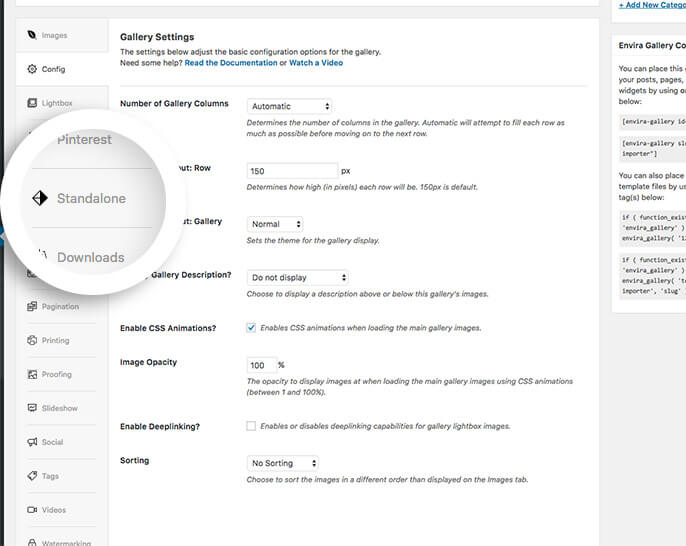
From the Template dropdown choose the page template you wish to use.
Finally, click Publish or Update your gallery to see the selected template in use.
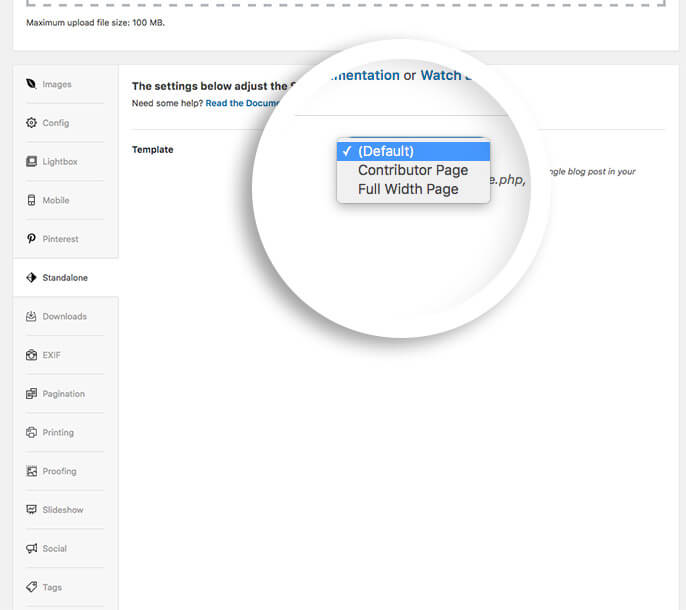
If you’re theme hasn’t included custom templates you wouldn’t see a dropdown on this tab.
And that’s it! You’ve now configured the Standalone feature with Envira gallery. Would you like to try styling the tags filter for the Tags Addon? Check out our article on How to Style the Tags Filter.
FAQs
Why am I getting a 404 error on my standalone links?
A: If you receive any 404 errors follow these steps below:
- Navigate to Settings » Permalinks
- Next, click Save on the Permalinks screen to flush the rewrite rules
Can I set individual permalinks for each gallery and album?
A: Absolutely! To change the permalinks for each gallery or album, just edit any gallery or album and below the title you’ll be able to click the Edit button next to the permalink to change the permalink.
