WordPress’ Gutenberg editor was designed to make creating new posts and pages for your WordPress site easier than ever. With Envira’s Gutenberg integration, it’s just as easy to make Envira galleries with Gutenberg, too!
Do you need some help on how to use Envira with Gutenberg? You’ve come to the right place. We’ll walk you through each of the steps on how to use Envira Gallery and WordPress’ Gutenberg together to add Envira galleries to pages and posts, or even create Envira galleries.
Adding an Envira Gallery to a Page or Post with Gutenberg
Step 1 – Create a new gallery
First, you’ll need to create an Envira gallery as you normally would. You can follow along with our documentation for creating your first gallery if you’re new to the plugin.
Step 2 – Publish your gallery
Once you’ve created your gallery, click Publish to publish the gallery.
Step 3 – Create a new page or post
From your WordPress Admin dashboard, click to create a new page or post.
For this example, we’re going to create a new post. Give your post a title and click the + icon to add a new Gutenberg Common block.
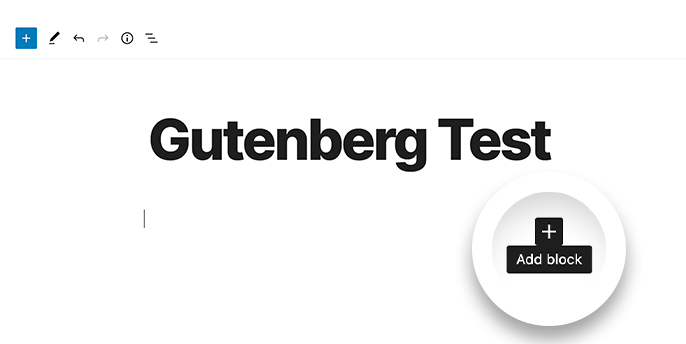
Step 4 – Add a Gutenberg Common block
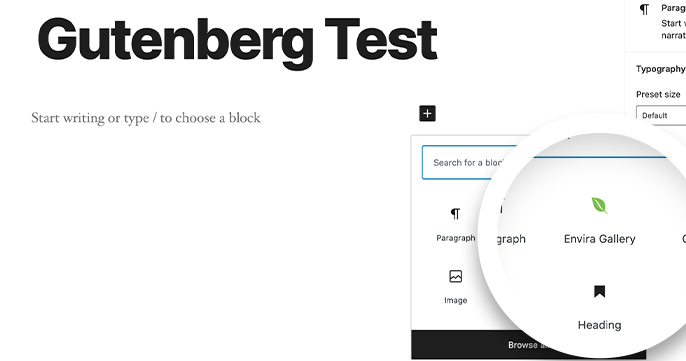
Once you’ve clicked the + icon, select the Common Blocks drop-down and choose the Envira Block.
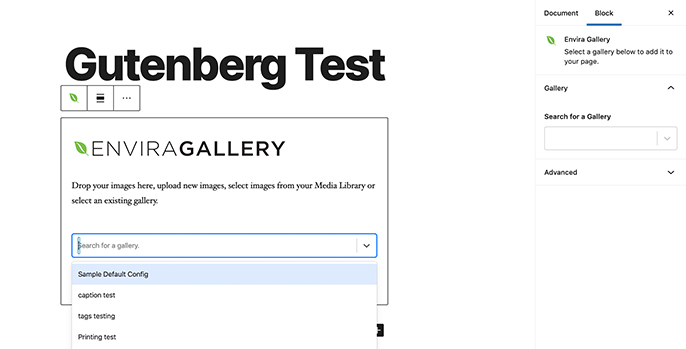
With the Envira block open on the page, you can either choose a gallery from the dropdown, or type the gallery name to conduct a smart search. Once you select the gallery from the dropdown, WordPress automatically adds it to the block.
Step 5 – Publish or Update your page or post
Finally, when you’ve added all your galleries or content, click the Publish button in the top right corner to publish the page or post.
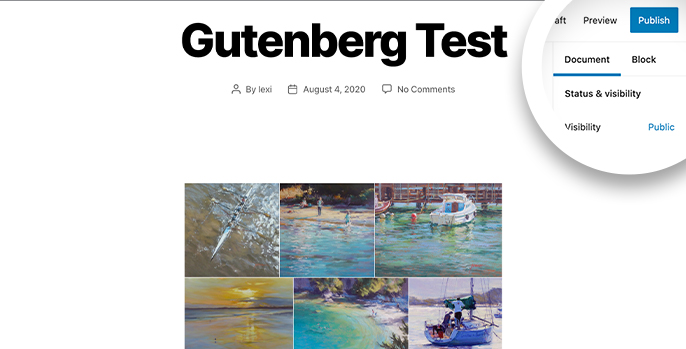
And that’s it! You’ve now just added an Envira Gallery to your Gutenberg page.
Would you like to learn about other page builders and Envira. Take a look at our article on Using Envira Galleries and Page Builder Tabbed Content.
Creating an Envira Gallery with Gutenberg
Of course, if you need to create an Envira gallery and add it to a page or post with Gutenberg, it’s easier to do both from one page. Luckily, Envira Gallery allows you to create a gallery from the Gutenberg page and post editors, too.
Step 1 – Create a new page or post
To create an Envira gallery from a page or post, you first have to create the page or post! Add a new page or post to your website from your WordPress Admin dashboard to get started.
Step 2 – Add the Envira Gutenberg Block
Click the + icon on the page or post to add a Gutenberg block. Choose the Envira Gallery block from the list of block options.
Step 3 – Choose your gallery images
Next, select to either Upload photos from your computer or search your Media Library for images to populate your new gallery.
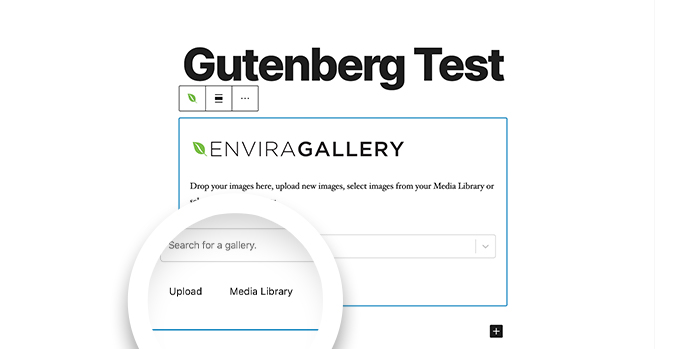
Select as many photos as you like!
Step 4 – Edit your gallery settings
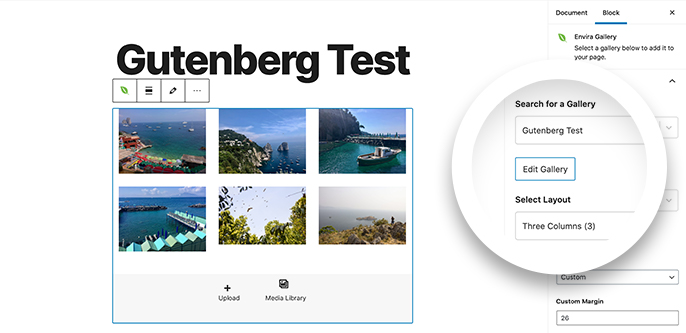
Now it’s time to edit your gallery settings and your images. Select an image in the gallery to edit its title and caption, or select the entire gallery to configure its layout, set gallery margins, enable Lightbox, and add additional CSS.
You can also edit the gallery more extensively by selecting the Edit Gallery button in the right-hand sidebar. This button opens the traditional Envira Gallery gallery editor in a new tab.
Step 5 – Publish your page or post
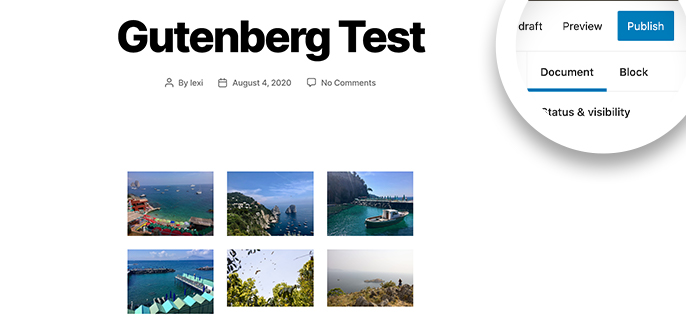
Once your photos have uploaded to WordPress, you’re ready to publish your page or post containing your newest gallery! Click Publish in the upper right of the screen, and enjoy your new gallery.
FAQs
Is this the only way to use Envira and Gutenberg together?
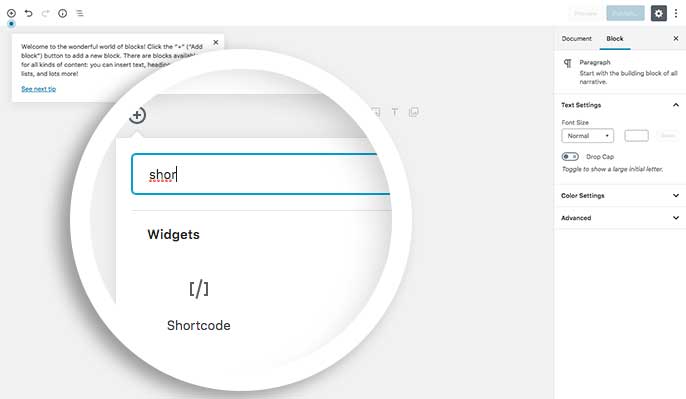
A: You can, of course, choose to embed an Envira gallery onto a page or post using the Shortcode Block. You’ll find this block located under the Widgets section in Gutenberg.
When using dynamic shortcode, you’ll still need to use the Shortcode Block when adding a slider to your pages.
To find the Shortcode Block, click the + icon and from the Widgets section, select Shortcode.
Watch our video demo on How to Create and Embed a WP Image Gallery with the Envira Gallery Block for even more information.
Will the shortcode solution work for albums too?
A: Yes. In fact, using the Shortcode block, as shown above, is the only way currently to add an Envira Album to your Gutenberg page.
What if I’m not using Gutenberg?
A: If you’re not using Gutenberg, you should continue to add galleries and albums to your page by clicking on the Add Gallery or Add Album buttons.


