Want to customize WooCommerce Envira galleries for a better checkout experience? You can easily display the gallery image in the cart or include its title and caption.
This is super easy to do with a simple code snippet! We’ll walk you through all the steps you need.
Heads up!
This article contains PHP, CSS, and/or JavaScript to customize our plugin. We offer this code as a courtesy but don’t provide support for additional code customizations or 3rd party development.
Adding the code snippet
First, to customize WooCommerce Envira Galleries, you’ll need to add the following code.
If you need help adding custom code to your site, please check out our guide on adding custom PHP or JavaScript to your site.
/* Customize Envira Woocommerce Galleries
*
* @link https://enviragallery.com/docs/how-to-customize-woocommerce-envira-galleries/
*/

//To change the add to cart item name and thumbnail (product name from Woo)
add_filter(
'woocommerce_store_api_cart_item_images',
function ($product_images, $cart_item, $cart_item_key)
{
if ( !isset( $cart_item['envira_woocommerce_image_title'] ) ) {
return $product_images;
} else {
$title = sanitize_text_field( $cart_item['envira_woocommerce_image_title'] );
$image_path = wp_get_attachment_thumb_url( $cart_item['envira_woocommerce_image_id'] );
return [
(object)[
'id' => (int) 0,
'src' => $image_path,
'thumbnail' => $image_path,
'srcset' => (string)'',
'sizes' => (string)'',
'name' => (string)'',
'alt' => '',
]];
}
},10,3);

//Display Envira image title as the product description
add_filter( 'woocommerce_get_item_data', function ( $item_data, $cart_item ) {
if ( isset( $cart_item['envira_woocommerce_image_title'] ) ) {
$title = sanitize_text_field( $cart_item['envira_woocommerce_image_title'] );
$item_data[] = array(
'key' => '',
'value' => $title
);
}

return $item_data;
}, 10, 2 );

// To change the add to cart text
add_filter( 'wc_add_to_cart_message_html', 'envira_custom_add_to_cart_message' );
function envira_custom_add_to_cart_message( $message ) {
global $woocommerce;

// Note: You also use envira_woocommerce_image_caption for the below
if ( isset( $_POST['envira_woocommerce_image_title'] ) ) {
$show_string = sanitize_text_field( $_POST['envira_woocommerce_image_title'] );
} else {
// if this doesn't exist, it's likely an Envira item wasn't added
return $message;
}
$cart_url = get_permalink( wc_get_page_id('cart') );
$message = sprintf('"%s" %s<a href="%s" class="button wc-forwards">%s</a>',
$show_string,
__('has been added to your cart', 'woocommerce'),
$cart_url,
__(' View Cart', 'woocommerce') );
return $message;
}
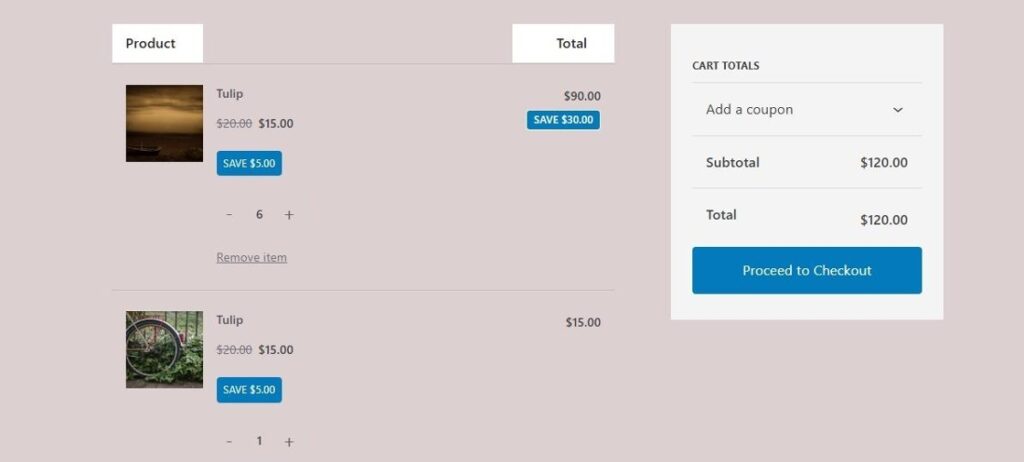
That’s all! You’ll now see the gallery image on the cart page.

That’s it! Would you like to create a gallery from any post type? Head over to the docs on How to use the Featured Content Addon.
FAQs
Q: Why is the link showing on the cart page?
A: If you’ve enabled the custom plugin from the How to use override your Woocommerce Redirect for Envira Galleries, then the link will show on the check-out page with the above code.
You would either need to turn this plugin off or just remove the block 2 from the custom plugin as shown above.


