Would you like to be able to import and export galleries using Envira? With any paid license it’s fast and very easy to do! In this tutorial, we’ll walk you through the steps on how to import and export galleries with Envira!
Requirements
- Envira Gallery 1.8.0+ (any license level)
- WordPress 4.9+
Setup
Step 1 – Create or Edit an Envira Gallery
First you’ll need to either create a new gallery or edit an existing gallery. If you need any help creating your first gallery, please review our documentation here.
Step 2 – Export Your Gallery
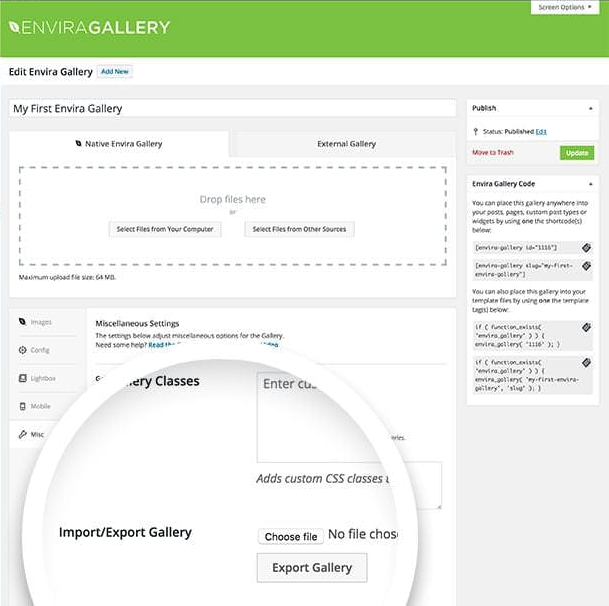
Now that your gallery is created or you have selected the gallery you wish to edit, navigate to the Misc Tab.
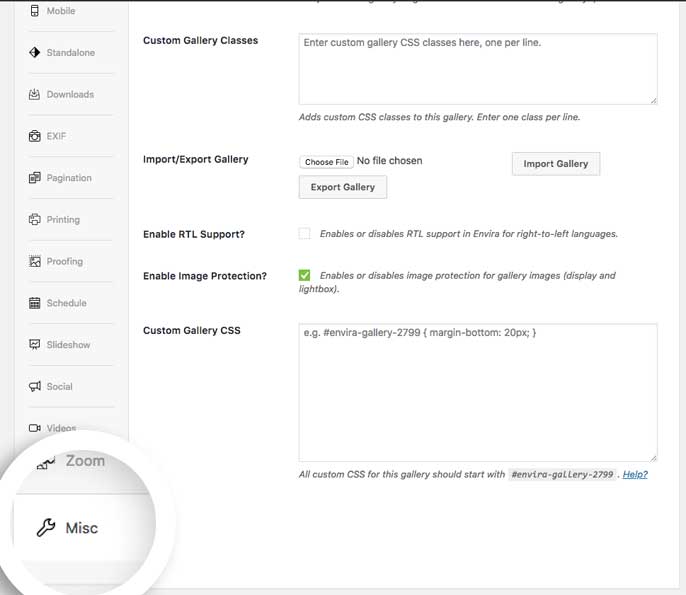
On the Misc tab, scroll down until you see the Import/Export Gallery option and select the Export Gallery button.
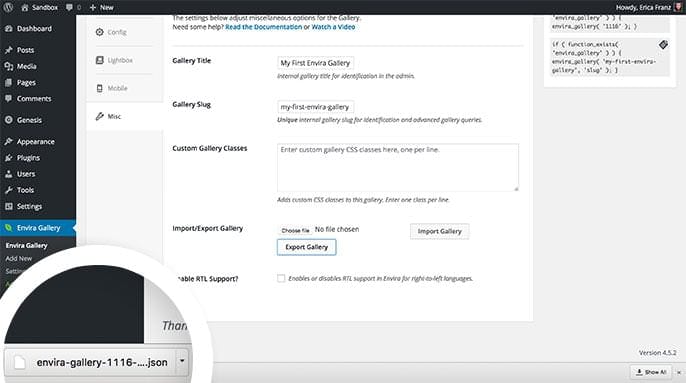
Your exported gallery will be downloaded as a .json file to your computer’s downloads folder.
Step 3 – Import Your Gallery
Whenever you import a gallery, you’ll import all the images and settings of the previously exported gallery.
Click Add New, to create a new gallery.
Next, navigate to the Misc tab.
On the Misc tab, scroll down until you see the Import/Export Gallery option. Here you can choose the .json export file for the gallery you want to import.
If you are practicing exporting and importing galleries, then the file will likely be in the Downloads folder on your computer.
After you choose your gallery file to import, select the Import Gallery button.
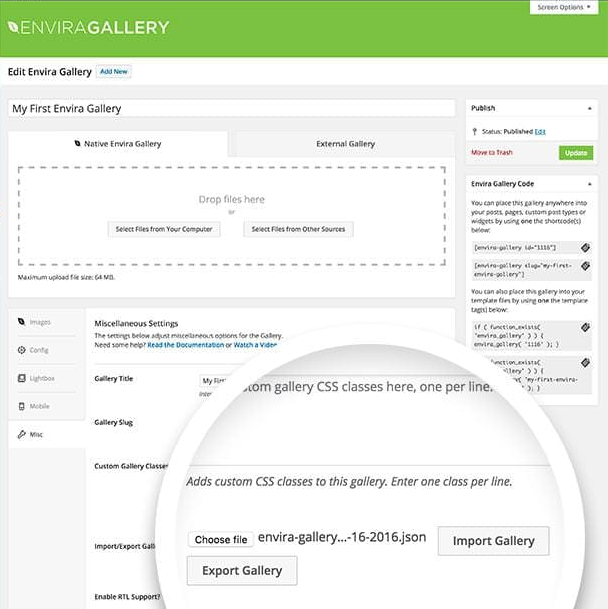
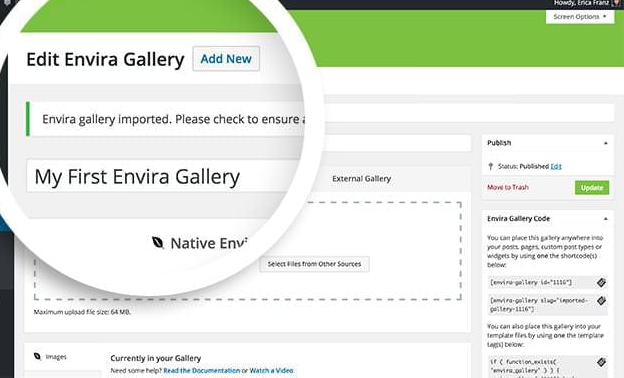
Once uploaded, Envira Gallery will bring you back to the Galleries tab and display a success message confirming your gallery was imported.
And that’s it! You’ve now completed the export and import gallery process. Want to find out what else you can do with Envira? Why not check out our tutorial on How to Create a PDF Gallery.


