Are you an avid Instagram user that wants to show off your images? Using Envira’s Instagram Addon you can easily create beautiful Instagram galleries on your site for up to 3 different Instagram accounts! This tutorial will walk you through how to create your first Instagram gallery.
Requirements
Installation
Please follow our instructions on how to install and activate addons.
In this instance, you’ll be activating the Envira Instagram Addon.
Setup
Step 1 – Enable & Authenticate Instagram
Before you can begin creating Instagram galleries, you’ll first need to let Instagram know you’re giving Envira to use your Instagram images for up to 3 accounts.
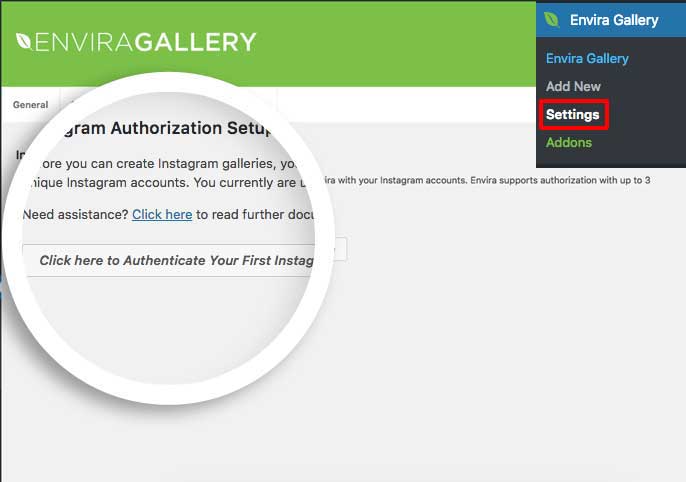
Click the Envira Gallery » Settings and select the Instagram tab.
Then select the Click here to Authenticate Your First Instagram Account With Envira button.
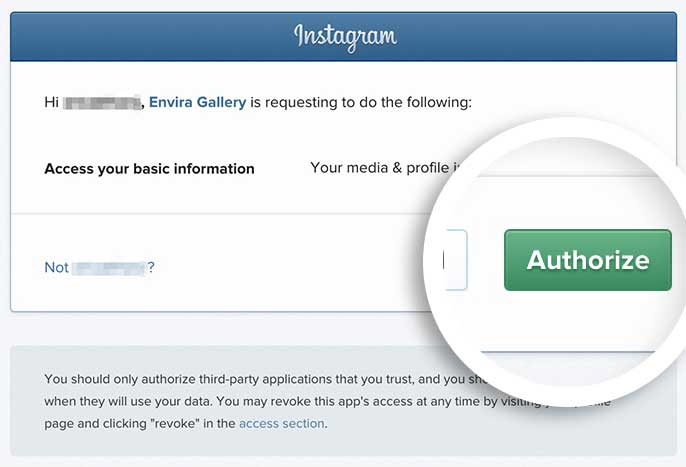
Next, you’ll be prompted to login to your Instagram account if you’re not already logged in.
Click the Authorize button. This connects Envira to your Instagram account.
Once the authentication process is completed, you’ll see on screen confirmation.
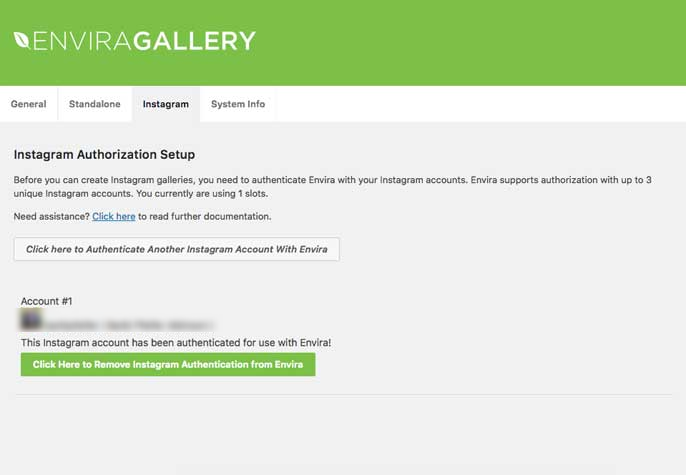
You’ve now authorized just 1 Instagram account. You can repeat these steps 2 more times to authorize up to 3 different Instagram accounts.
Step 2 – Create your gallery
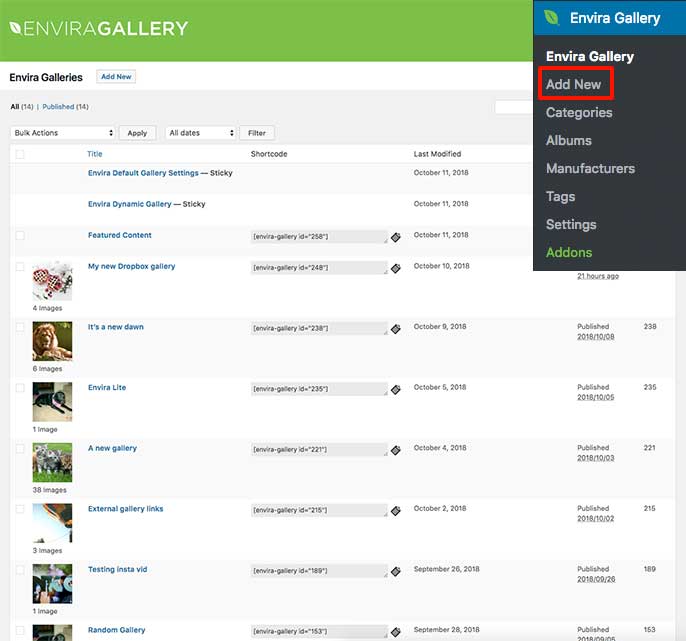
Your first step is to create a new gallery. You can easily do this by clicking the Add New link under Envira Gallery from the WordPress admin.
Step 3 – Select the External Gallery tab
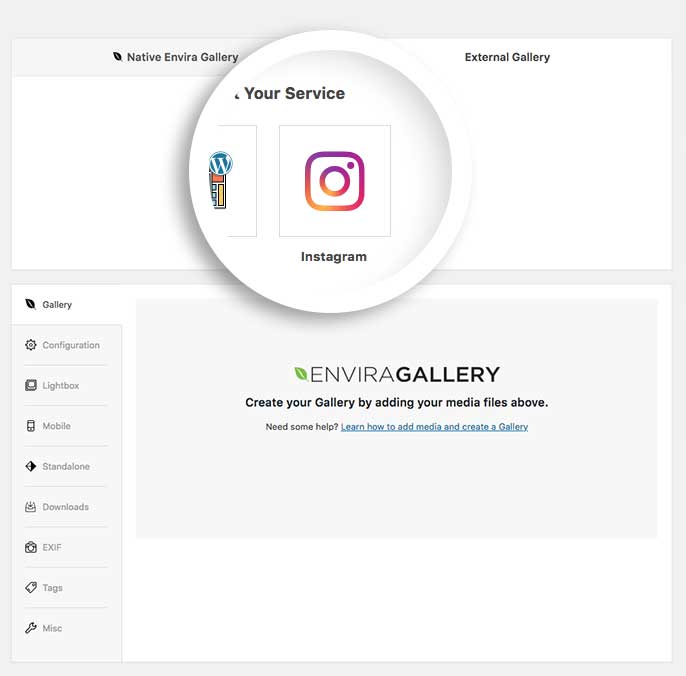
Next, click the External Gallery tab from inside the Envira Gallery and select the Instagram icon.
On the Gallery tab you’ll see a list of options to choose from to set up your gallery.
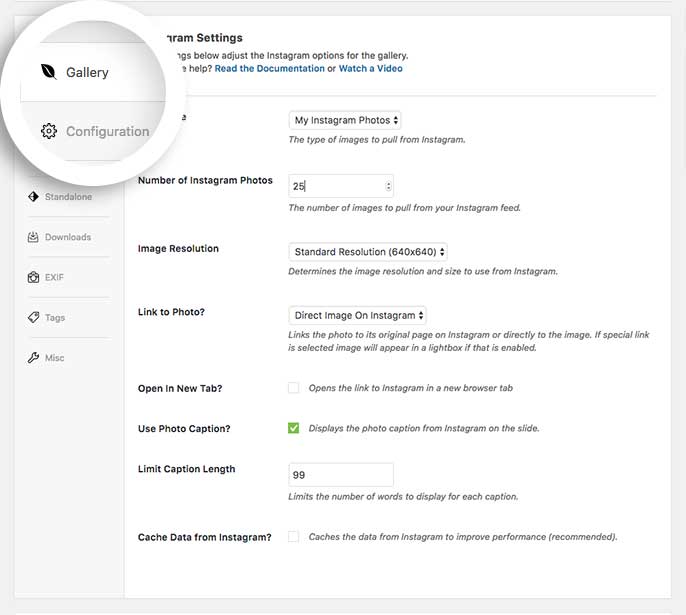
There are some important things to note concerning the Link to Photo? option. If you don’t wish to have the images link at all, simply select No Link from the dropdown. With this option, your visitors wouldn’t be able to click on any of the images in your gallery.
The other two options will be discussed in the next step.
Step 5 – Set up your lightbox settings
Your next step is optional depending on how you set up your Link to Photo? option in Step 4.
If you selected to have the image link to Original Page at Instagram, you’ll need to make sure the Lightbox and Mobile tab is set to Enable Links? instead of Enable Lightbox?
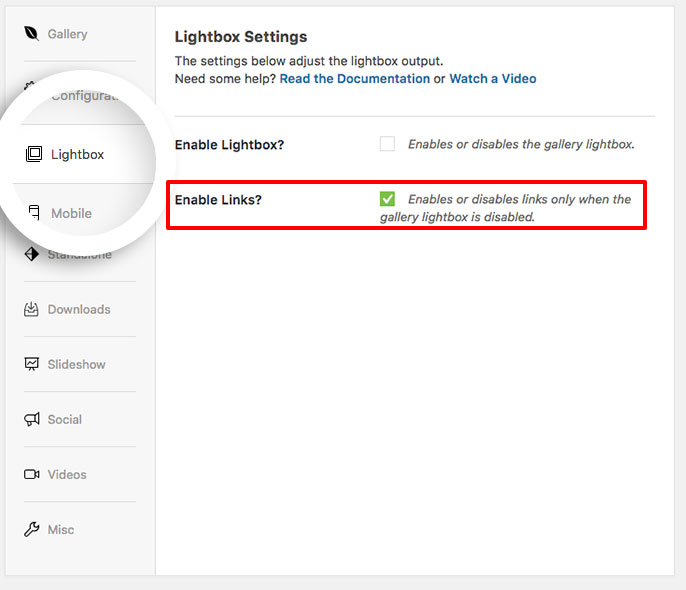
However, if you’ve selected to have the image link to Direct Image On Instagram, you can keep the Enable Lightbox? option checked for the gallery.
Just complete your lightbox options for the Lightbox and Mobile tab with regards to your needs for your Instagram gallery.
Step 6 – Publish or Update your gallery
Finally, click Publish or Update on your gallery to save the changes.
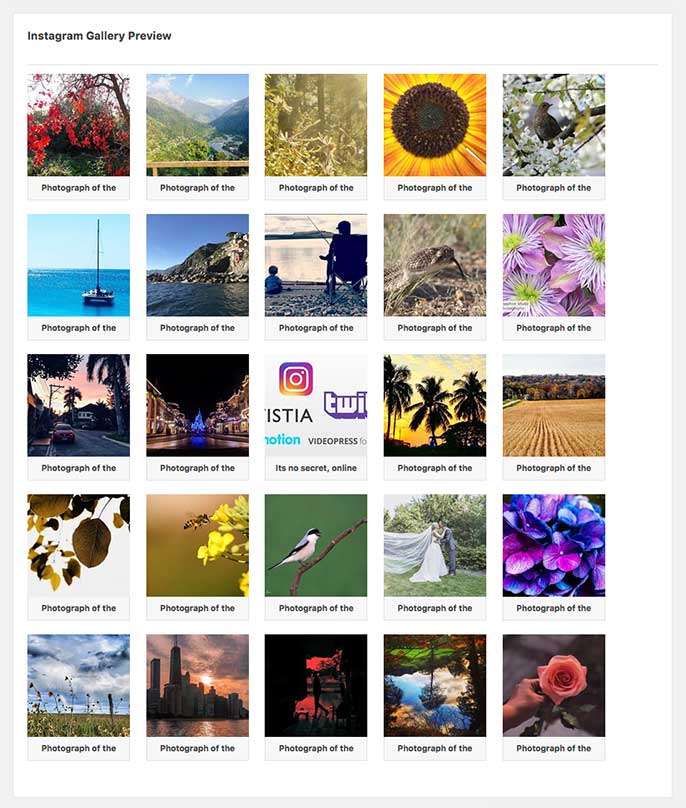
You’ll see a preview of your Instagram gallery below your gallery settings.
See the demo!
Would you like to try creating a similar gallery using images from your blog posts? Why not check out our tutorial on How to use the Featured Content Addon for Envira Gallery.
FAQs
Q: My Instagram galleries suddenly aren’t displaying. What could be wrong?
A: It might be because Instagram has closed its older API, which Envira Gallery Addons prior to version 1.5 were using (see this support document for more information). If you are experiencing issues: (1) make sure you have upgraded to the latest version of Envira Instagram Addon (the version will be higher than 1.5); (2) then go into Envira settings, click on the Instagram tab, and reauthorize yourself with your Instagram account(s).
Q: Why can’t I set my image sizes?
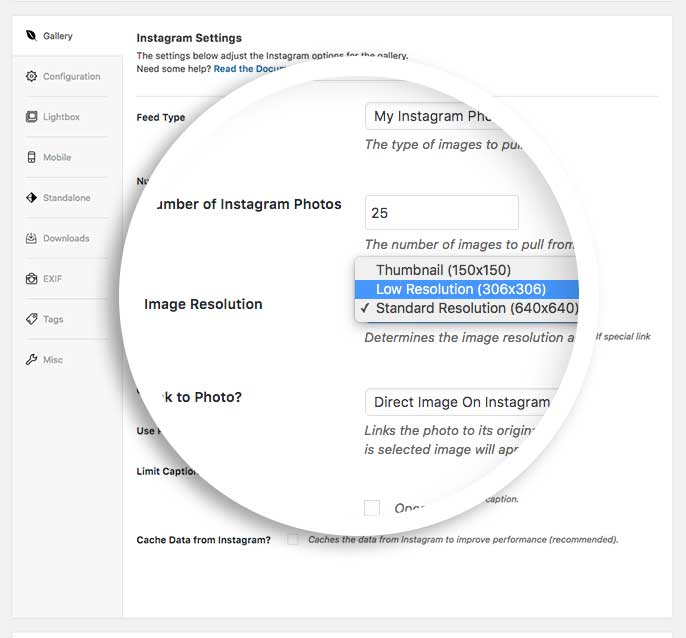
A: When creating an Instagram gallery, the images only have reading access. This means Envira can only see the images from your Instagram and use the image URLs. Envira does not have the permission to create image sizes or force image sizes with cropping.
Select the image size from the Gallery Tab.
Q: Why doesn’t the image open the Instagram page?
A: If you have your Instagram settings set to Original Page at Instagram, make sure on the Lightbox and Mobile tab you’ve selected the Enable Links? option for the gallery lightbox settings.
Q: Not all of my images are showing, why?
A: Instagram will only allow Envira to pull up to 33 images with each API call so if you’re setting your gallery to display more than 33 images, Instagram is blocking the rest of the images.


