


Create Beautiful Responsive Photo & Video Galleries For Your Site in Minutes
Documentation, Reference Materials and Tutorials for Envira Gallery
The ZIP Importer Addon for Envira Gallery let’s you easily upload your images to your gallery using a ZIP file that immediately adds images to the gallery. We’ll walk you through how to use Zip Importer Addon to add easily and quickly add images to your gallery.
Please follow our instructions on how to install and activate addons.
In this instance, you’ll be activating the Envira ZIP Importer Addon.
Your first step is to create a new gallery or edit an existing one. You can follow along with our documentation for creating your first gallery.
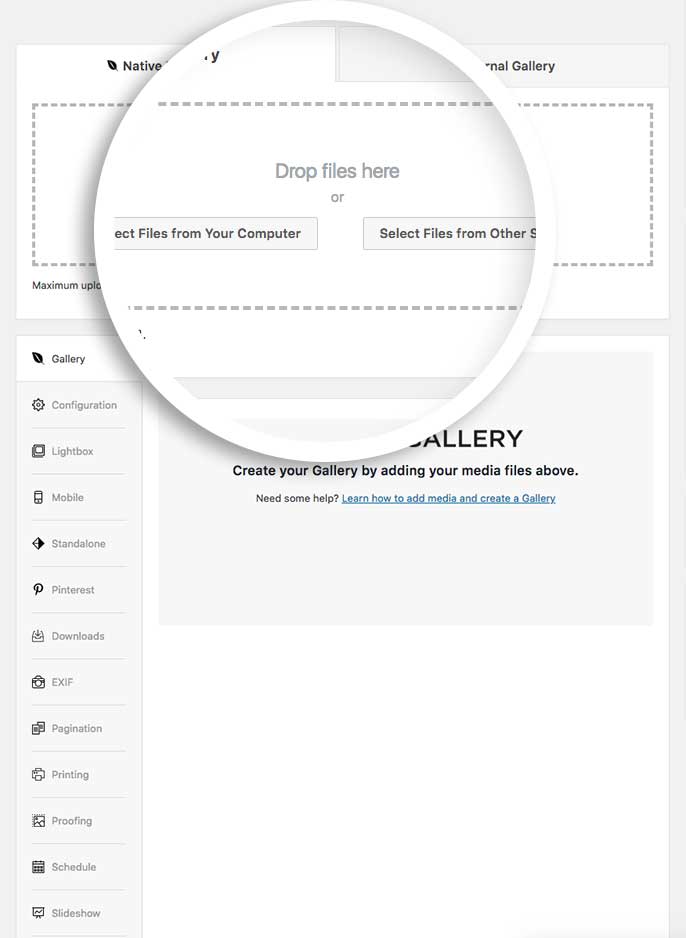
The next step is to zip up your images you want to use, then simply drag and drop a ZIP file onto the Drop files here section or use the Select Files From Your Computer button.
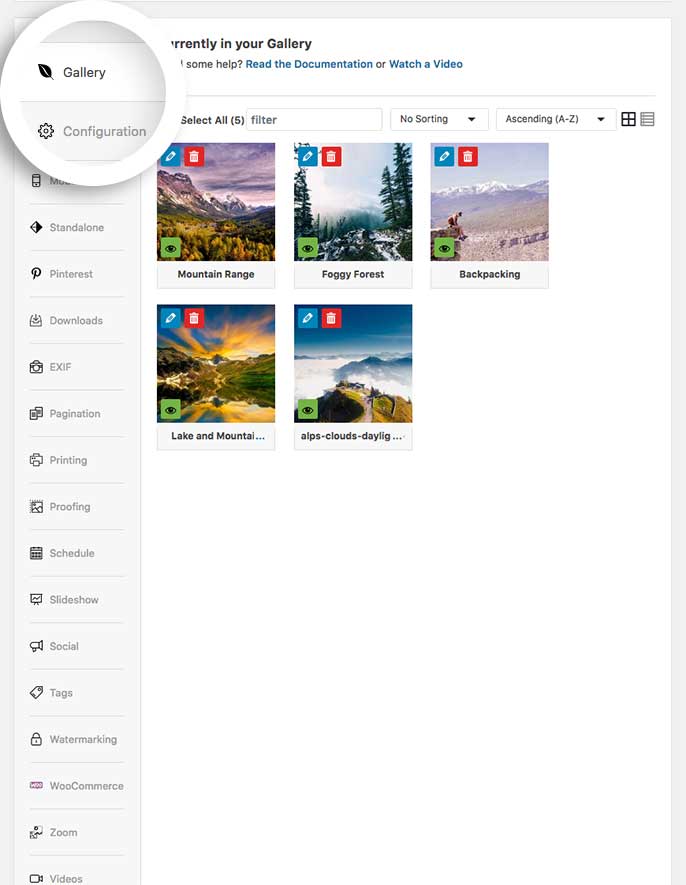
Depending on the size of the ZIP file and number of images inside it, the images will then appear in the grid of within the Gallery tab after a few moments:
Next, go through the tabs for your gallery to set up your gallery settings on each tab.
Finally, click Publish or Update on your gallery to save the changes.
A Zip Importer gallery will look like any other gallery you’ve created with Envira, the only difference is how the images were imported.
Would you like to explore some other ways of importing your gallery images? Take a closer look at how to use Envira’s Dropbox Importer Addon.

Envira Gallery: Create, Showcase, and Sell Your Work – Trusted by 150k+ Sites.
Enter the URL of your WordPress website to install

Unlock even more powerful features designed to make your galleries even more beaituful.
Video Galleries
eCommerce
Social media Sharing
Adobe Lightroom
And much more!

What are you waiting for?


Copyright © [#this year :%Y] Envira Gallery, LLC. Envira Gallery is a trademark of Envira Gallery, LLC.
