Whether you’re an amateur photographer or a budding pro, there are plenty of reasons why you might be asking yourself, “How do I color correct photos in Luminar?”
Photo editing software gives today’s photography experts the opportunity to adjust and enhance the images they take in a multitude of subtle ways. Selective color adjustments allow you to change certain tones on your photos or update your images without overwhelming the picture.
The great thing about Luminar as a photo editing software option is that you can make precise and highly-targeted changes throughout your photos. You can even add or change colors within the midtones, highlights, and shadows of the image. This can give it greater depth or make it more balanced.
Today, we’re going to look at 3 ways to color correct photos in Luminar, using:
- HSL and color balance
- Color Splash
- Split toning and split color warmth
How to Color Correct Photos on Luminar with Color Balance and HSL
HSL is one of the most commonly used and popular adjustment filters for today’s photographers, regardless of whether you’re using Luminar, Lightroom or Photoshop. HSL, or “Hue, Saturation, and Luminance,” allows you to selectively adjust different components of individual colors in your image. There are eight channels of color to choose from, and each can be adapted to give a specific effect. The luminosity filter is particularly helpful for affecting the brightness of each hue.
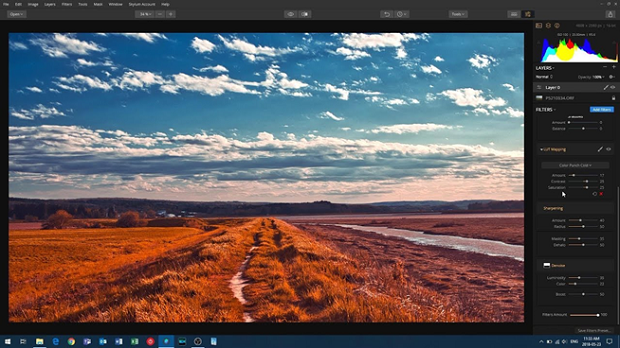
Color balance is another of the best ways to color correct photos in Luminar, using a filter. With color balance, you can make highly precise changes to the shades in the midtones, shadows, and highlights in your images. Be cautious with the way you use this option, as the smallest change can make a dramatic difference.
How to Color Correct Photos on Luminar with Color Splash
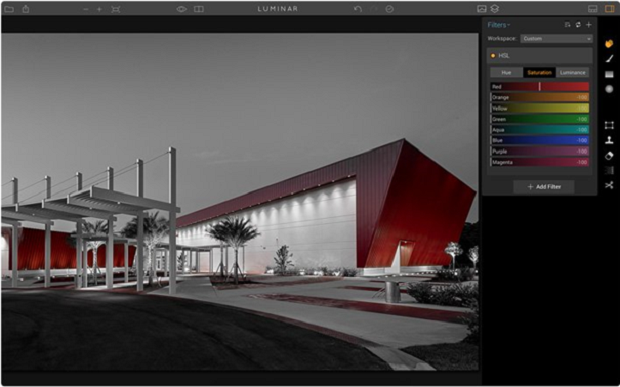
The Color Splash technique is a fantastic feature on Luminar that’s perfect for creating unique and dramatic images using selective colors. You can turn your entire image into greyscale, then maintain the colors of specific objects for vivid and beautiful results.
There are multiple ways to add color splash effects to an image in Luminar, and each option is relatively simple. For instance, you can use the B&W filter on Luminar, combined with the masking brush to create this effect. Simply add the black and white filter to your image and then click on the brush icon. Select Mask Erasing Mode and brush out the part you want to see the color on.
You can also use the HSL system we mentioned above to achieve similar effects for your Luminar photos. The simple slider solution allows you to separate specific colors in your image and highlight others. For instance, you could have everything in your image be black and white except for the yellows and reds.
To create the right effect, load your picture in Luminar and add the HSL filter. Click on the saturation tab and move the sliders all the way to the left on the colors you want to remove.
How to Color Correct Photos on Luminar with Splitting
The splitting options that allow you to color correct photos on Luminar are split toning and split color warmth. Split toning works by giving you a way to add color specifically to an image’s highlights, shadows, or both. This feature can create amazing results in color images, but it’s particularly great if you want to adapt the depth and mood of your black and white photos.
You can split tone an image by making the highlights magenta, yellow or cyan, and using the opposite colors on the shadows. Adjusting just one of the two options is a great way to change the effect on your photos.
Split toning allows you to deal with individual elements of your photo while split color warmth deals with larger sections. With the split toning, you enjoy the ability to make separate adjustments for each of the highlights and shadows in your image. While the split color warmth feature allows you to selectively enhance all the warm or cool tones in an image.
Because most photos feature both cold and warm colors, it’s a good idea to maintain control over these things individually, as it will increase the vibrancy and contrast of your images.
There you have it! 3 highly effective and easy ways to color correct photos in Luminar. The more time you spend on Luminar, the more comfortable you’ll feel with the different photo editing options available. If you liked this article, follow us on Facebook and Twitter for more guidance and photography tips!


