Do you want to create cut-out effects in your image? Sometimes using a shape or text layer with your photo can turn it into something really special and unique. In this article, we will show you how to use clipping masks in Photoshop.
If you don’t have it yet, you can get Photoshop from Adobe’s site here.
Use Clipping Masks to Your Photos
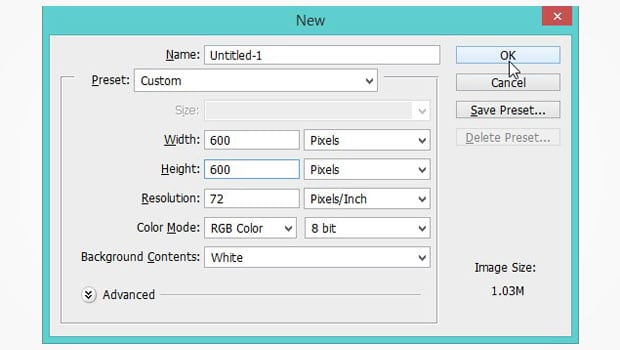
First thing you need to do is open a new file in Photoshop. You can do it by going to File » New and add a new square document of the same ratio.
You should select the Rectangle Tool from the toolbar at the left hand side of your Photoshop screen.
Then, simply press the Shift key on your keyboard and draw a square. Set the Fill color to black and the Stroke to no color.

Press Ctrl + J to duplicate the black square and make it a 5×5 grid. You need to make sure that the spaces between the black squares are even.
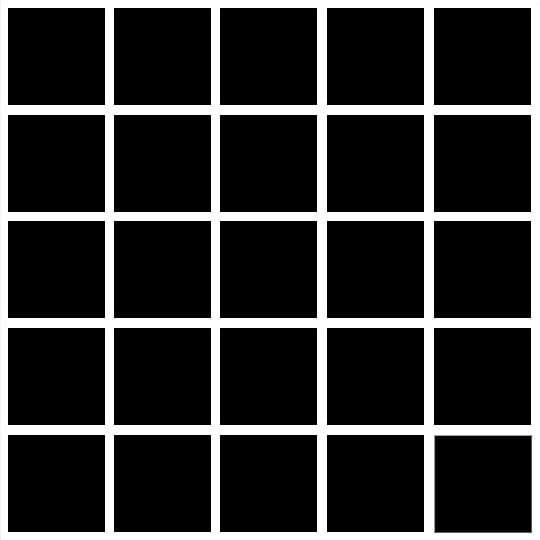
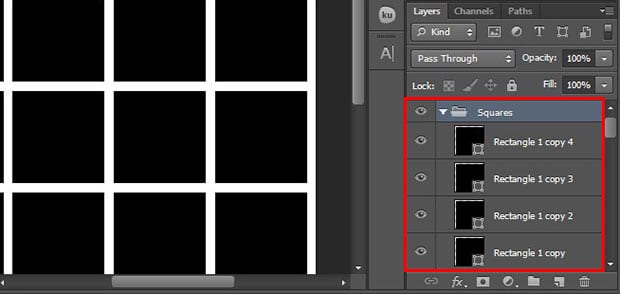
Next, you should highlight all the layers of black squares and press Ctrl + G to combine them in a single group. (We named the group, ‘Squares’.)
Then, you need to open your image in Photoshop and drag this image to the document created by you.
Go ahead and press Alt + Click in the middle of the squares group and your image layer to clip the layer.
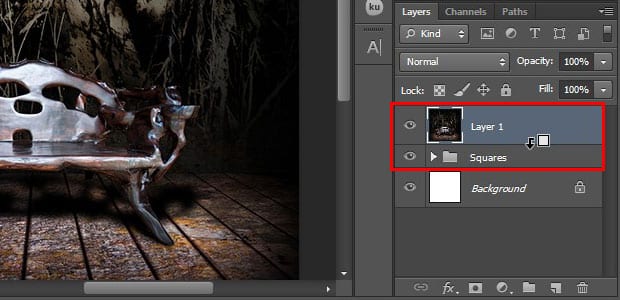
You will find a small arrow with the thumbnail of the image layer that indicates your layer is clipped to the Square group.
That’s all. If you want to adjust the image in the black squares, then simply press Ctrl + T to transform the image layer and edit it as needed.
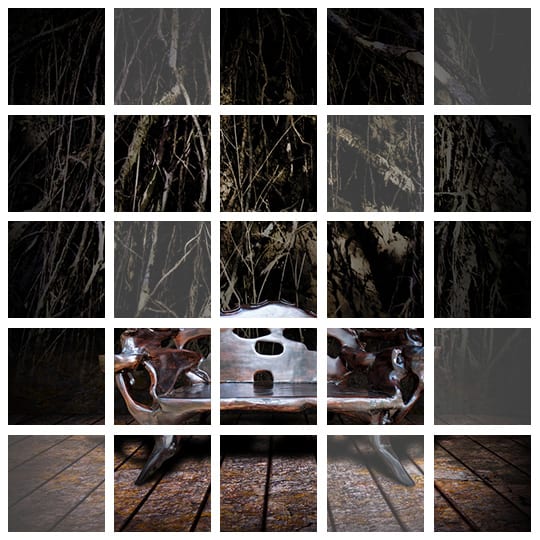
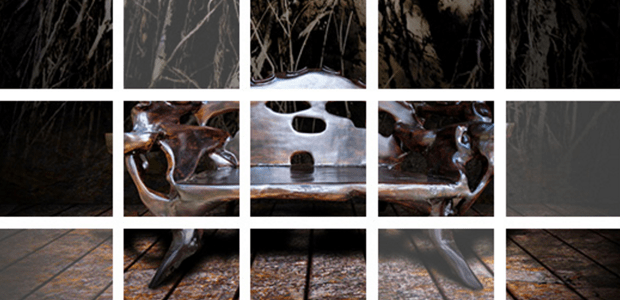
You can also add effects by selecting each of the squares individually and increasing or decreasing the opacity. Check out the final image below.
We hope this article has helped you to learn how to use clipping masks in Photoshop. You may also want to check out our guide on how to change the color of text in Photoshop.
If you like this article, then please follow us on Facebook and Twitter for more free photo editing tutorials.




Clipping mask is important for masking. It is the first step. You did a great job and i liked your tutorial. Thanks for the share.
Hello Koren. Thanks for liking it. Do follow us on Facebook and Twitter for more free tutorials.
I think clipping mask is a powerful technique to remove your unwanted background. Thanks a lot for sharing a nice tutorial.
Excellent! We’re so glad you found it useful!
Image masking/Clipping mask is effective when you have hairy objects like a woolen dress, furry coats, hairy dolls, stray hairs, and so on in an image. It is a useful method of selecting the borders of an image to work on the background. However, Photoshop is an amazing photo editing tool which generates astonishingly beautiful images if done by a professional photo editor. Hand-drawn image masking service is essential for product photography and e-commerce site as the automatic tool cannot ensure 100% perfection.