A sight of the Milky Way oftentimes leaves people awestruck. And as a photographer, you might want to capture this celestial phenomenon on your camera and freeze the moment for years to come. While there are thousands of images of the Milky Way out there, only some of them might be as fascinating as the original dazzling white bands that light up the night sky. So what does it take to photograph the magnificence of the Milky Way in its true splendor? And is it even possible to photograph the Milky Way without those high-end astrophotography gear? While many pursuing astrophotography might use telescopes or robotic heads specialized for the task along with expensive ultra-precision and CCD cameras, it is not impossible to capture the breathtaking beauty of the Milky Way with the digital camera that you might already have (DSLR or mirrorless). In this blog, we offer you a few tips that could help you photograph this heavenly wonder with your gear as millions of stars come together to illuminate the dark sky.
What Is Milky Way Photography?
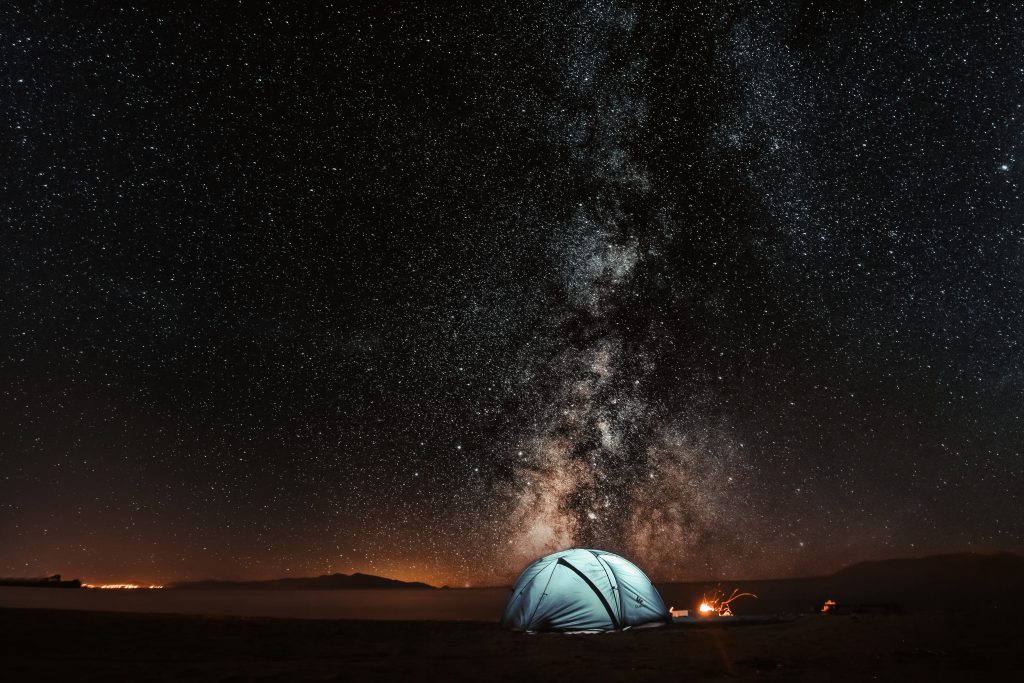
Astrophotography is a vast genre and includes photographing celestial events and imaging of any astronomical objects. But since we are only talking about the Milky Way – the galaxy we live in – we can’t possibly photograph all of it but can only focus on that impressive illuminated streak in the dramatic night sky. The fact that the Milky Way is predominantly photographed against the night sky perhaps makes this scene both challenging and exciting for many photographers. And therefore, it is important that you choose your gear carefully and plan ahead to get those stunning images of this intriguing phenomenon.
Gear That You’ll Need
1. Camera
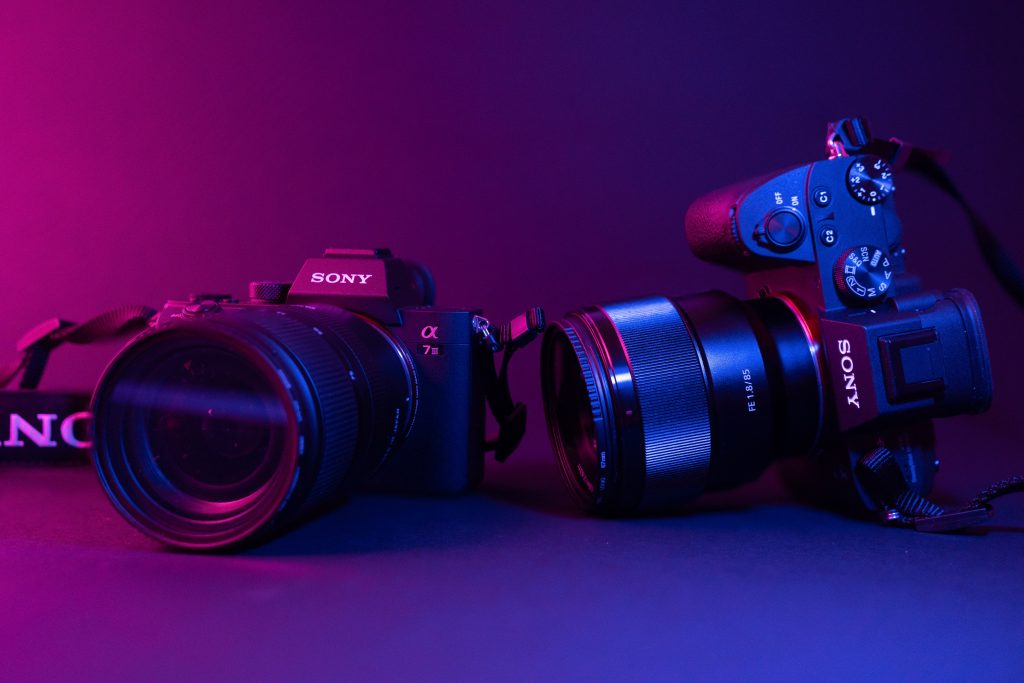
While you could even photograph the Milky Way on your smartphone these days, you might want to go with a camera that allows you to control the settings manually to capture this nighttime scene. That way, your scene is likely to have more detail, with your aperture, shutter speed, and ISO set according to your needs. Note that getting the focus right in the darkness of the night sky could be a challenge if shooting in autofocus mode. But, when shot in manual mode, a good digital camera (DSLR or mirrorless) could help you reduce noise to a large extent. You could even go ahead with the point-and-shoot camera that allows you manual controls. However, the image quality in such cases could be slightly compromised, especially if your point-and-shoot camera has a smaller sensor. For those of you interested in more sophisticated gear, there are many astrophotography-friendly digital cameras available in the market that could help you achieve your desired shot.
2. Fast Lens
A fast-aperture wide-angle lens camera (with a maximum aperture range of f/1.4-f/2.8) could be a good choice to photograph the Milky Way. In case you have a slow lens or have to stop down your lens to achieve sharpness, you might have to increase the ISO. This can result in noise in your images, and that’s why a fast lens would be ideal. And going for a lens that can handle low light could be your best bet when photographing such scenes. Also, we suggest you choose fast prime lenses that perform well when wide open, as capturing the vastness of the night sky with a narrow view might be difficult. So, fast lenses like 20mm f/1.4, 14mm f/2.8, or 24mm f/1.4, or Zoom lenses like 15-35mm f/2.8 could be your go-to options for nighttime photography.
3. Tripod
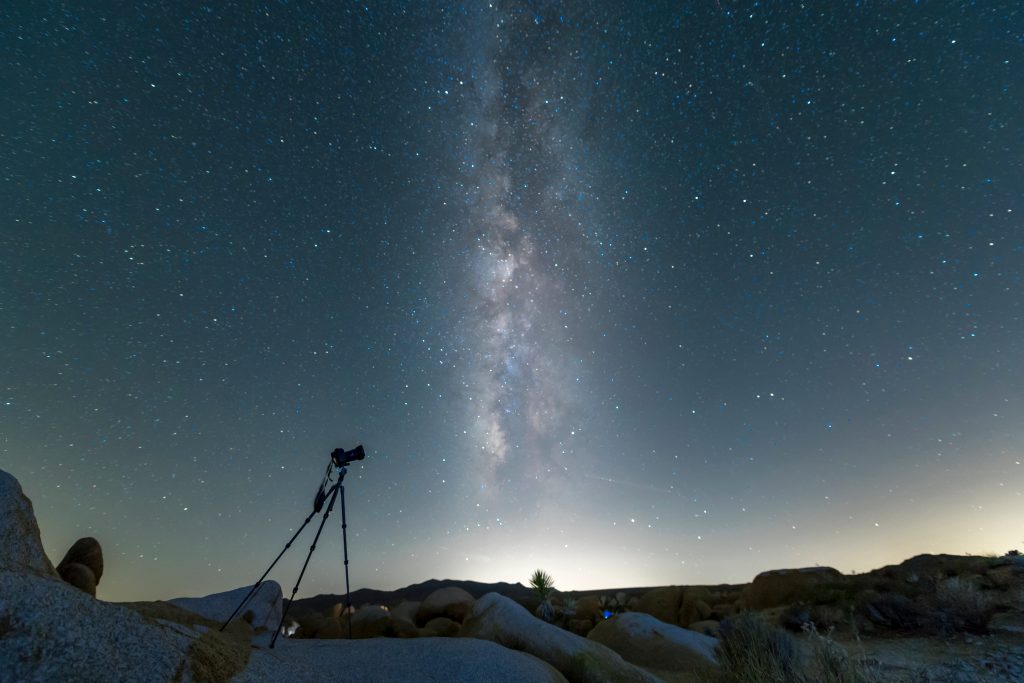
A tripod isn’t an optional gear when it comes to Milky Way photography. You may have to shoot long exposures up to 15 seconds or more. So it is important that you have a sturdy tripod to avoid the shake in your images as you wait to capture the nighttime drama. As a photographer, you already know that hand-holding your camera for too long while shooting could result in blurry images, and you might also be aware that a light tripod might not really serve the purpose. If it gets windy and the tripod begins to shake, you might not be able to photograph the Milky Way the way you want to. If you want to minimize the camera shake further, you could even consider using a remote shutter release or camera trigger or cable release.
4. Flashlight
It would be nighttime and dark when you venture out for Milky Way photography, so a flashlight could help you find a good spot for you to take your position. Want to add your own creative take to your Milky Way images? If you have an interesting foreground, maybe you could use it for some light painting effect to give a different perspective to your photos.
5. Sky Mapping App
While this step is not mandatory, sky mapping could be really helpful when you are planning to photograph the Milky Way. A good sky mapping app will show you the exact position of the Milky Way on a particular day. This way, you’ll have the chance to position your gear well and plan your shots in advance.
6. Image Post-Processing Software
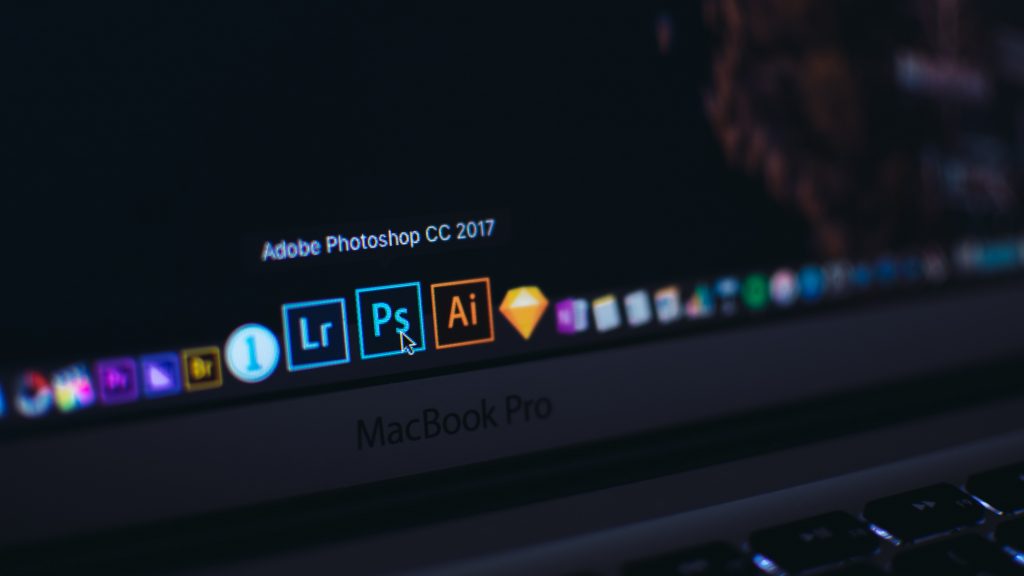
To get the best quality and detailed Milky Way photos, you may want to post-process them, and that’s why it’s important for you to resort to good post-processing software. Also, post-processing plays a major part in astrophotography. So if you do not already have good software to help you enhance your images in the editing stage, you may consider getting one. Adobe Photoshop and Photoshop Elements are great for astrophotography post-processing. Adobe Lightroom is also a good option. However, it might not be as flexible as Photoshop when it comes to tasks like advanced cloning or spot removal to eliminate any unwanted objects (think of an airplane, unless, of course, you want to add it to your photo!) from your images.
Steps To Photograph The Milky Way
1. Look For A Dark & Clear Sky
Yes, you read that right! Though you might think you’d get a dark sky when the night falls, simply waiting for it might not be the best idea when planning to photograph the Milky Way. A dark sky free of light pollution is the most important prerequisite to even see the Milky Way clearly. If you’ve planned to photograph that gorgeous sky from the big city you live in, you might have to reconsider your decision because the city lights and the poor air quality might leave you disappointed and narrow down your chances to photograph the Milky Way. So what do you do? Maybe you could consider traveling to a nearby countryside where the blinding city lights and smog would not come in the way of creating those out-of-this-world shots (quite literally!).
Even forested areas, hilly terrains, or any other camping sites where the sky is darker and clear of pollution could be your ideal spot to get a glimpse of the incredible Milky Way. Also, remember that trying to shoot a Milky Way on a full moon night might wash out your images. Therefore, trying to capture such scenes on a new moon night or when the moonrise is going to be really late is something you might want to consider. And, there are several apps to track the timings of the moonrise and even ones that help you find a dark sky and show you a light pollution map.
2. Consider The Season & Time
The Milky Way would not be visible to the naked eye all year round in all parts of the world. In the Northern Hemisphere, the optimal time to spot this natural phenomenon would be February through October, but the months when the Milky Way is high up in the sky are between May and August. This is when you would find the Milky Way in the southern half of the sky while it rises from the east. At the same time, photographers in the Southern Hemisphere might have a little advantage when the Galactic Center – the central part of the Milky Way – could be seen overhead.
At other times of the year and seasons, the core of your celestial subject will not be visible. But you would still be able to take photos of the fainter parts of the Milky Way, provided you have a clear dark sky. Again, you can take the help of the Milky Way calendar or similar apps to know the rising and setting time of the night sky and the Milky Way.
3. Composing Your Image
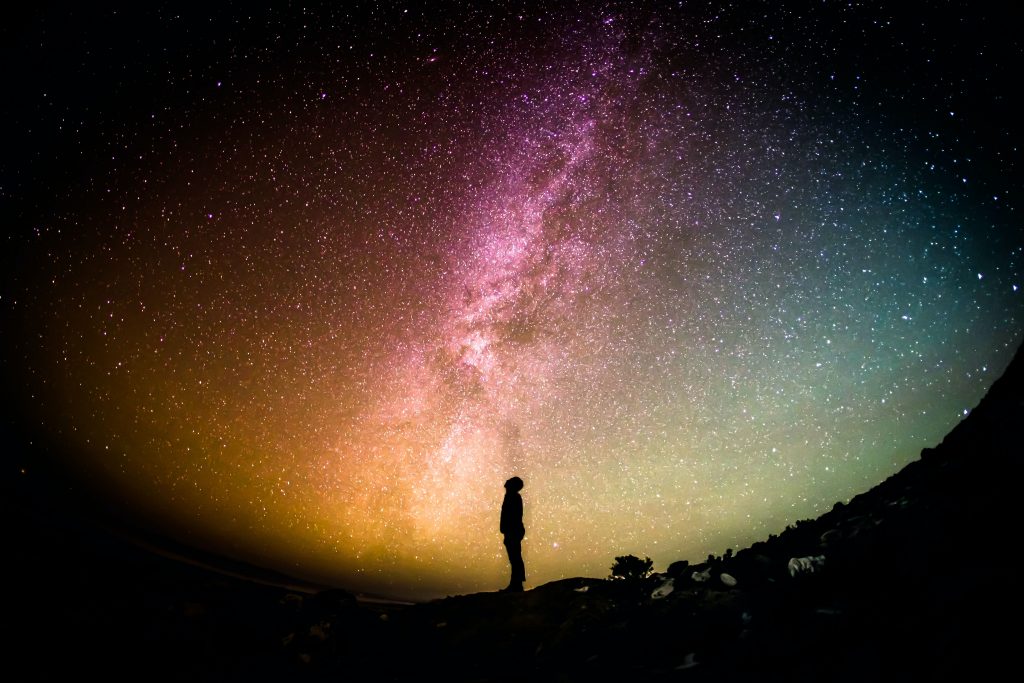
Once you’ve found the right place and right time for your Milky Way photography, you can begin composing your shots with the help of all the gear we mentioned earlier. Though there’s no right or wrong way of doing it and you could just follow any basic photography techniques, you could still try creating a sense of depth in your shots by framing them in the landscape orientation. Keeping the Milky Way in the background while including trees, rocks, mountains, or people in the foreground might not only bring a sense of the depth of field in your image but also add some interesting elements to your photo.
4. Choose Your ISO
To photograph the Milky Way, you will need a high ISO to collect enough light to ensure your image is bright and clear. ISO 3200 could be a good point for you to begin. Based on your other camera settings, you may make adjustments to the ISO later. You could bump up the ISO to 6400 according to your lens capabilities and lighting (and air quality) conditions.
5. Set The Shutter Speed
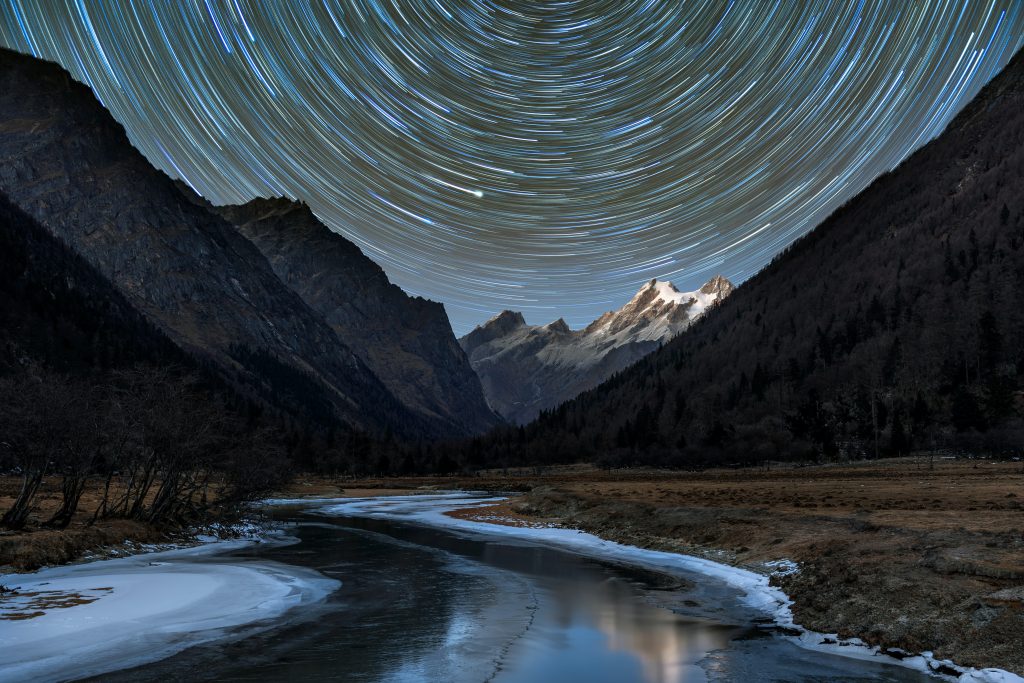
Earth keeps rotating even though we don’t really feel it, so leaving your shutter open for too long or having a low shutter speed can result in star trails. It would be perfect if that’s the effect you want in your Milky Way photos. But to get a sharp and clear image of the stars, you could follow the ‘500 Rule’. This means you will divide 500 by the focal length of your camera lens. For example, for a 24mm lens (on a full-frame camera), you will divide 500 by 24, resulting in a value of 20.83 (500/24 = 20.83). Based on this calculation, you can set your shutter speed at 20 seconds.
If you are using a crop sensor camera, you’ll have to account for the crop factor. A camera with a crop factor of 1.5 will have an effective focal length of 36mm if you are using a 24mm lens (24×1.5 = 36). Applying the ‘500 Rule’ here will give you a shutter speed of 13 seconds.
6. Choose A Wide Open Aperture
A wide-open aperture simply means collecting as much light as possible to photograph the Milky Way and that’s probably what you need. So, you can use f/2.8 or the widest aperture possible for your lens to get quality images. If you see any significant softness in your lens, you may stop your lens down. Again, this is the reason why it’s important to use a fast lens. So, if your lens is soft at f/1.4, you can sharpen your Milky Way photo by stopping down to f/2. This will also save you from impacting your lens’s ability to gather light.
7. Check Exposure
If you aren’t very happy with what you’ve got at your first shot, you might try adjusting all the other camera settings first before worrying about the exposure. If you see there’s too much noise, just decrease the ISO. If your shot is overexposed, we suggest you take a look at your surroundings and see if there’s light pollution. Now, you may bring down the shutter speed, decrease the ISO, or stop down the lens. If your shot is underexposed, check if you’ve not been using the widest aperture possible for your lens and then, increase the shutter speed. You may also increase the ISO. When everything else is taken care of, you can begin with a 10-second exposure for your shots. You may consider increasing the exposure time if you want to experiment and get more light in your shots.
Post-Processing Your Milky Way Images
Once you’ve got those breathtaking Milky Way photos, you might want to enhance their quality by post-processing them. Also, if you captured some unwanted objects or satellite trails in your otherwise perfect pictures, image editing could help you get rid of those. Getting the best possible exposure for your images and shooting in RAW format could make editing your Milky Way images easier.
If you think there’s still some scope of improvement when it comes to exposure, you may make adjustments with the exposure slider while editing your image on post-processing software. The other global changes that you could make are adjusting the white balance, reducing noise, increasing sharpness, and making appropriate adjustments to color, contrast, saturation, and brightness. However, ensure that you do not lose shadow details in the process.
For creative editing, you can try the image blending techniques such as image averaging, focus stacking, and time blending. Through these techniques, you can blend multiple images to get that one perfect Milky Way image. Time blending allows you to blend multiple images taken at different times of the day. Focus stacking lets you extend the depth of field in your image by blending several images of the same scene that were taken with varying focal lengths. Image averaging can be done in specialized software and is helpful in reducing noise in night photos.
Further Read: 11 Powerful Travel Photography Tips for Capturing Epic Photos
Milky Way photography has its share of challenges and might take you some time to get comfortable with all the techniques and tricks before you could capture the beauty of a million stars in one frame with perfection. But if done the right way, these images could leave your audience gaping and transport the viewer to another world. Be it picking up the right gear to capture the Milky Way, zeroing in on the ideal time to spot it, or getting the perfect exposure to shoot it the way you want, Milky Way photography allows you to experiment with the form in a number of ways. And, the more you practice, the better you’ll get in understanding how to photograph this surreal and striking natural phenomenon as you aim for the stars each time – or aim at the stars in this case! We hope you found the points discussed above resourceful. If you have any unique way of photographing the Milky Way or are aware of any location that offers a clear view of this breathtaking sight, let us know in the comments section below.


