The Defaults Addon was designed to help make creating and maintaining your Envira galleries even easier. With the Defaults Addon, you can ensure that all new galleries you create adhere to the custom settings that you program yourself. Once you’ve created the base settings for your galleries, all you have to do is click Add New and upload your images!
You can even use the Defaults Addon to bulk apply changes to other galleries with just a few clicks.
In this documentation, we’ll walk you through how to set up and use your Envira Defaults Addon.
Requirements
Installation
To use the Defaults Addon, you must first activate and install it on your WordPress site. Please follow our instructions on how to install and activate addons.
In this instance, you’ll be activating the Envira Defaults Addon.
Setup
Step 1 – Edit Envira Default Gallery Settings
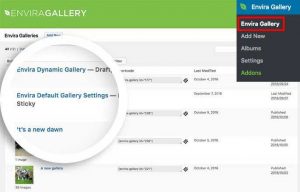
After you’ve installed and activated the Defaults Addon, you should navigate to your WordPress Admin and select Envira Gallery » Envira Default Gallery Settings to edit your gallery settings.

Step 2 – Configure your settings
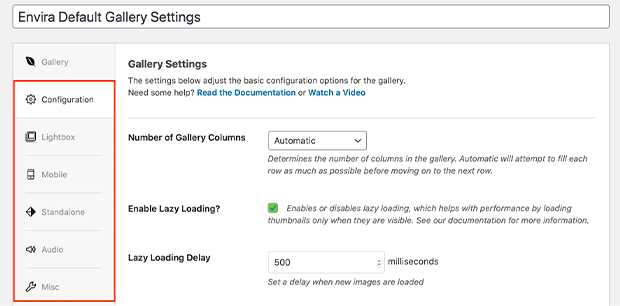
Now, you can set up your default gallery settings. Simply navigate through each tab of the gallery and create your base settings that you’d like used for all galleries on your site.

Step 3 – Publish the Envira Default Gallery Settings gallery
Finally, click Publish or Update on your gallery to save any changes you’ve made to your default gallery settings.
You’re now all set to begin to use the default settings for all galleries!
Would you like the ability to bulk edit your gallery images? Take a look at our documentation on How to Bulk Edit Gallery Images.
FAQs
Q: Does this change the settings of existing galleries or albums automatically?
A: No, this will not change the settings of any existing galleries or albums automatically. However by using our guide to bulk applying default settings, you can manually change the existing galleries with the newly set up default settings.
Q: Will this work for albums too?
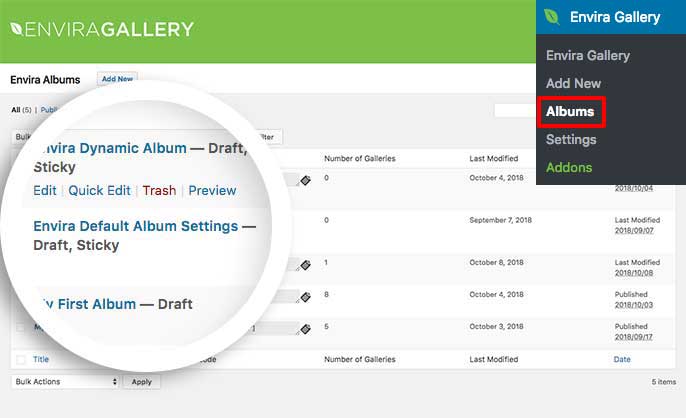
A: Absolutely! The same concept that applies to galleries will also apply to albums. You’ll just need to edit the defaults for albums as well.


