





Create Beautiful Responsive Photo & Video Galleries For Your Site in Minutes
Documentation, Reference Materials and Tutorials for Envira Gallery
Integrating Google Photos with Envira Gallery lets you display your personal photo library directly on your website without manually uploading images. Any photos you select from Google Photos are automatically imported into your gallery, keeping your content fresh and your workflow simple.
Envira Gallery’s customization options let you tailor the display to match your brand, making your portfolio both professional and unique.
Creating a Google Photos gallery using Envira is a super straightforward process. Follow these steps to connect your Google Photos account and start displaying your images seamlessly:
Requirements:
Start by accessing the Google Photos settings within Envira Gallery. You can do this by clicking on Settings in the Envira Gallery dashboard, then clicking the Google Photos tab.

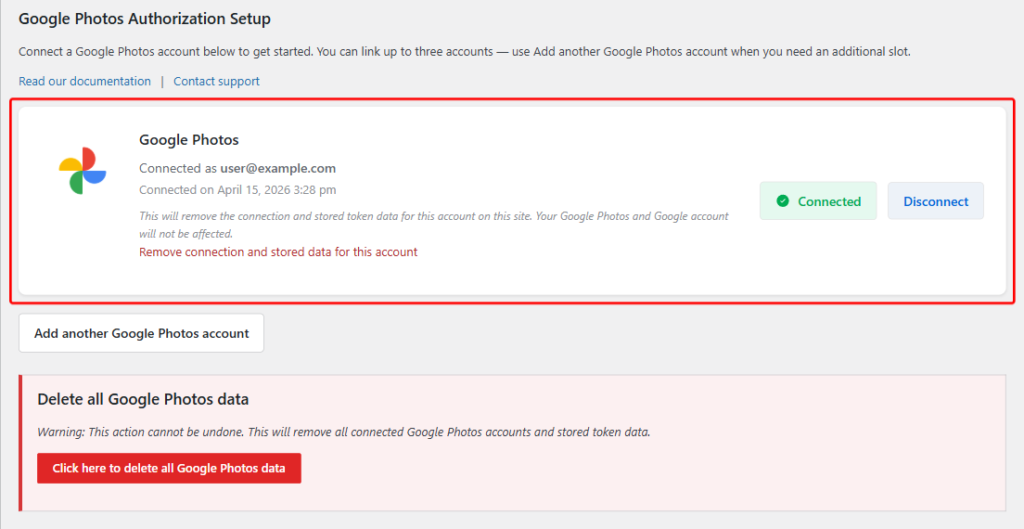
Once you are on the Google Photos tab, you will see the Google Photos Authorization Setup section. Click the Continue with Google button to begin connecting your account. You can link up to three Google Photos accounts to use across your galleries.
After your account is connected, the tab will show a Connected badge alongside your account email and the date the connection was established.
You will be redirected to Google’s sign-in page. Enter your Google account credentials and grant Envira Gallery permission to access your Google Photos library. Envira only requests read-only access to your photos — your account and library are never modified.
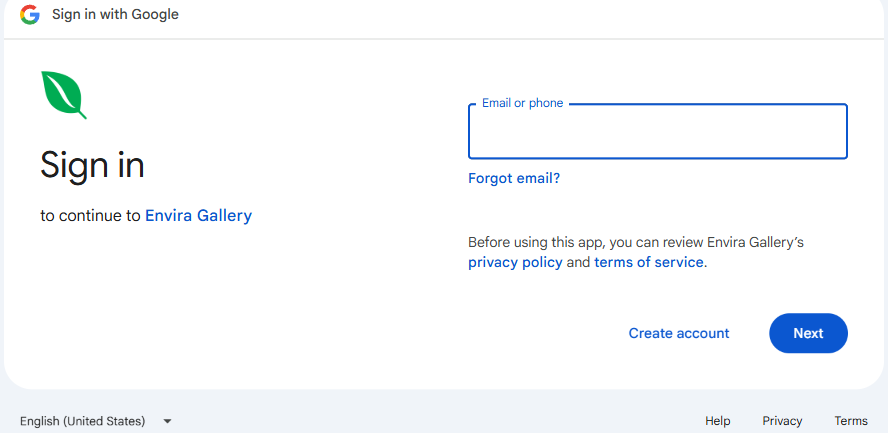
After completing sign-in, Google will redirect you back to your WordPress dashboard automatically.
Note: To learn more about the permissions used, see Google Permissions for OAuth for more details.
Once your account is authenticated, click Add New Gallery in the Envira Gallery menu. In the gallery editor, navigate to the Images tab and click the External Gallery sub-tab. You will see the available external gallery sources — click the Google Photos tile to select it as your gallery type.
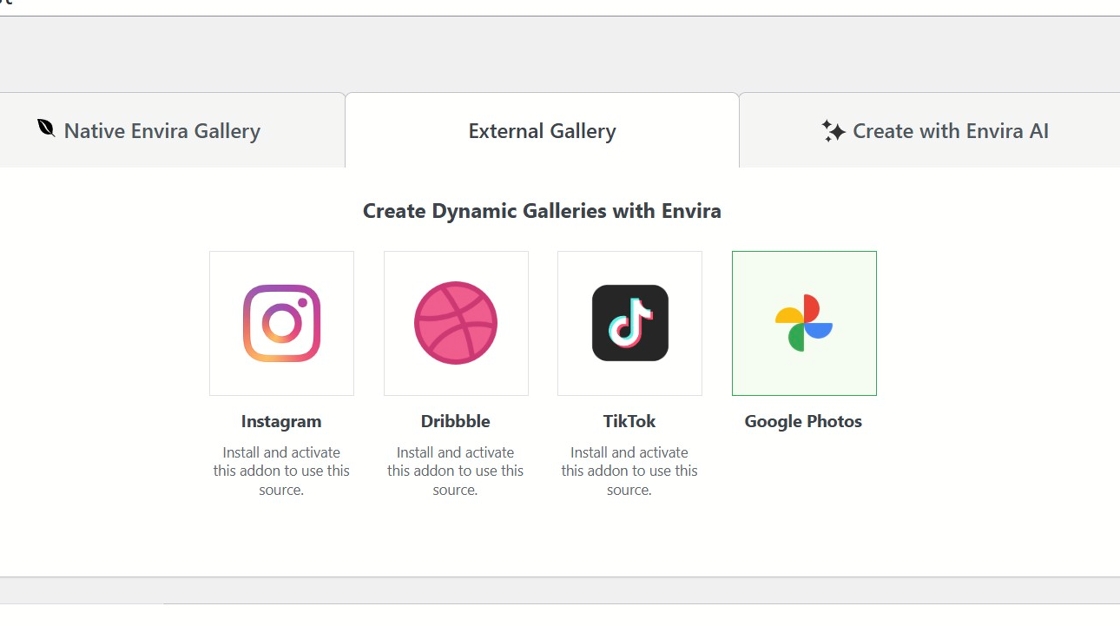
Note: If the Google Photos tile shows “Install and activate this addon to use this source,” make sure the Google Photos Addon is installed and activated. See the Activate Addons documentation for guidance.
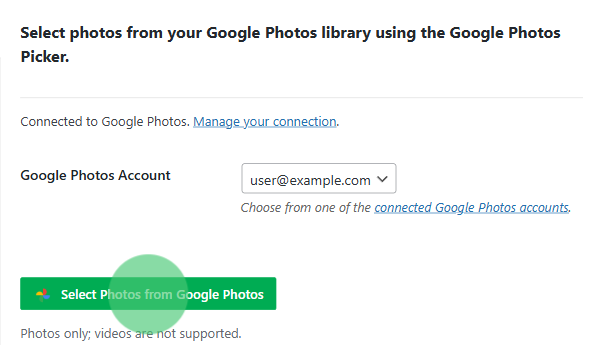
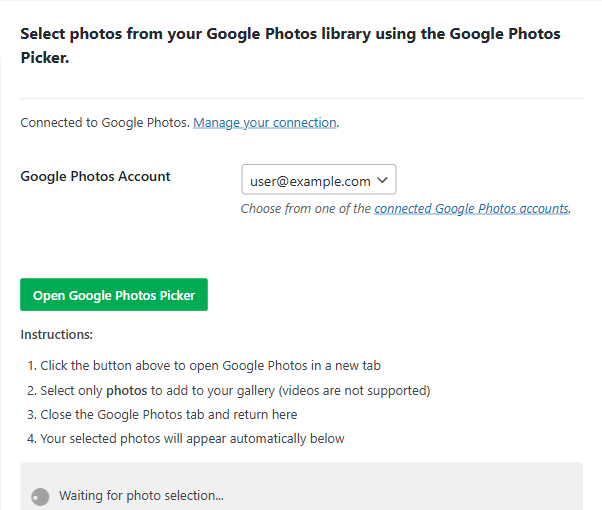
With Google Photos selected as the gallery type, the Images tab will display the Google Photos section. If you have multiple Google accounts connected, use the Google Photos Account dropdown to choose which account to pull photos from.
Click the Select Photos from Google Photos button to open the Google Photos Picker in a new tab, where you can browse and select the photos to include in your gallery.
After clicking the button, press“Open Google Photos Picker” and the page will display step-by-step instructions and a Waiting for photo selection… indicator.
Switch to the Google Photos tab that opened, select your photos, press “Done” and then return to the gallery editor — your selected images will appear automatically.
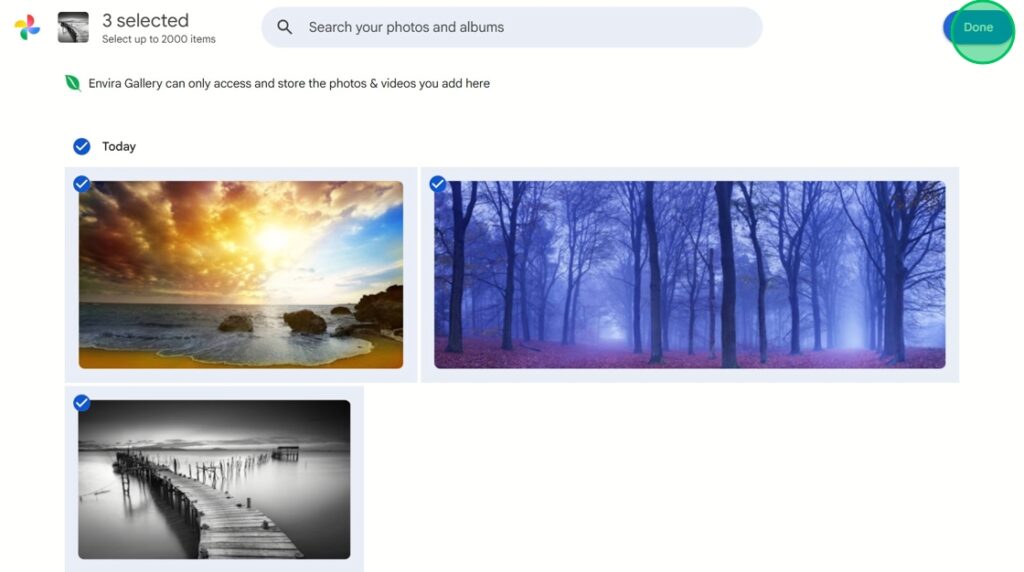
Note: Google Photos only supports photos. Videos are not supported and will not be imported.
After your photos have been imported, configure any additional gallery settings in the Configuration, Lightbox, and other tabs to customize the appearance of your gallery.
When you are happy with the setup, click Publish (or Update if editing an existing gallery). Finally, insert the gallery shortcode/block into any page or post on your website to display your Google Photos images.
And that’s it! Your Google Photos gallery is now live on your website and will reflect the photos you selected from your library.
Still stuck? Contact our support team — we’re happy to help.

Envira Gallery: Create, Showcase, and Sell Your Work – Trusted by 150k+ Sites.
Enter the URL of your WordPress website to install

Unlock even more powerful features designed to make your galleries even more beaituful.
Video Galleries
eCommerce
Social media Sharing
Adobe Lightroom
And much more!

What are you waiting for?


Copyright © [#this year :%Y] Envira Gallery, LLC. Envira Gallery is a trademark of Envira Gallery, LLC.